Tutorial
Install Keplr wallet for Cosmos apps; create account, secure seed, stake ATOM with Imperator.co, 21-day undelegate period. Ledger compatible.
This article is a tutorial for a first installation of the Keplr wallet. In order to interact with the numerous applications of the Cosmos ecosystem, it is essential to have an appropriate wallet. The Keplr wallet is a non-custodial wallet that has inter-blockchain communication, it is the most used within the Cosmos ecosystem and is very convenient for new users.
Let’s dive into it, my future Cosmonauts ⚛️ 🧪
🔑 Step 1: Add the Keplr extension to your Browser
Before being able to use the wallet, you first have to add the Keplr extension on your web Browser.
You will find the official Keplr extension here: https://chrome.google.com/webstore/detail/keplr/dmkamcknogkgcdfhhbddcghachkejeap
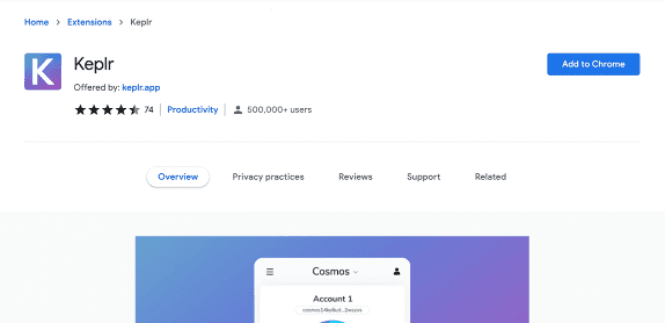
Please note that this extension works only for Chronium based browsers like Google Chrome, Brave or Opera. Keplr has NOT launched an official Firefox extension yet, stay safe and use Chronium browsers only.
Then, you have to click on Add to Chrome and Add extension to add the wallet on your Chronium browser.
Right after that, the extension will be added on the top right of your browser, as shown below:
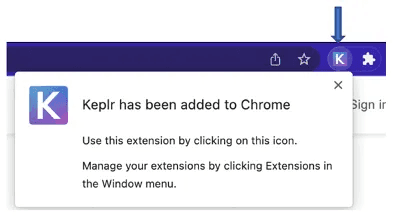
You can pin the extension so that the wallet appears as soon as you open your browser.
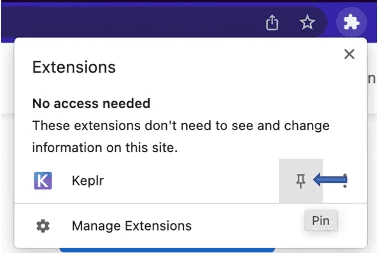
Pin the Keplr extension
Kelpr extension pinned
🏦 Step 2: Create an account
Once you have clicked on the Keplr icon on your Browser, you will be redirected to a new web page to create an account.
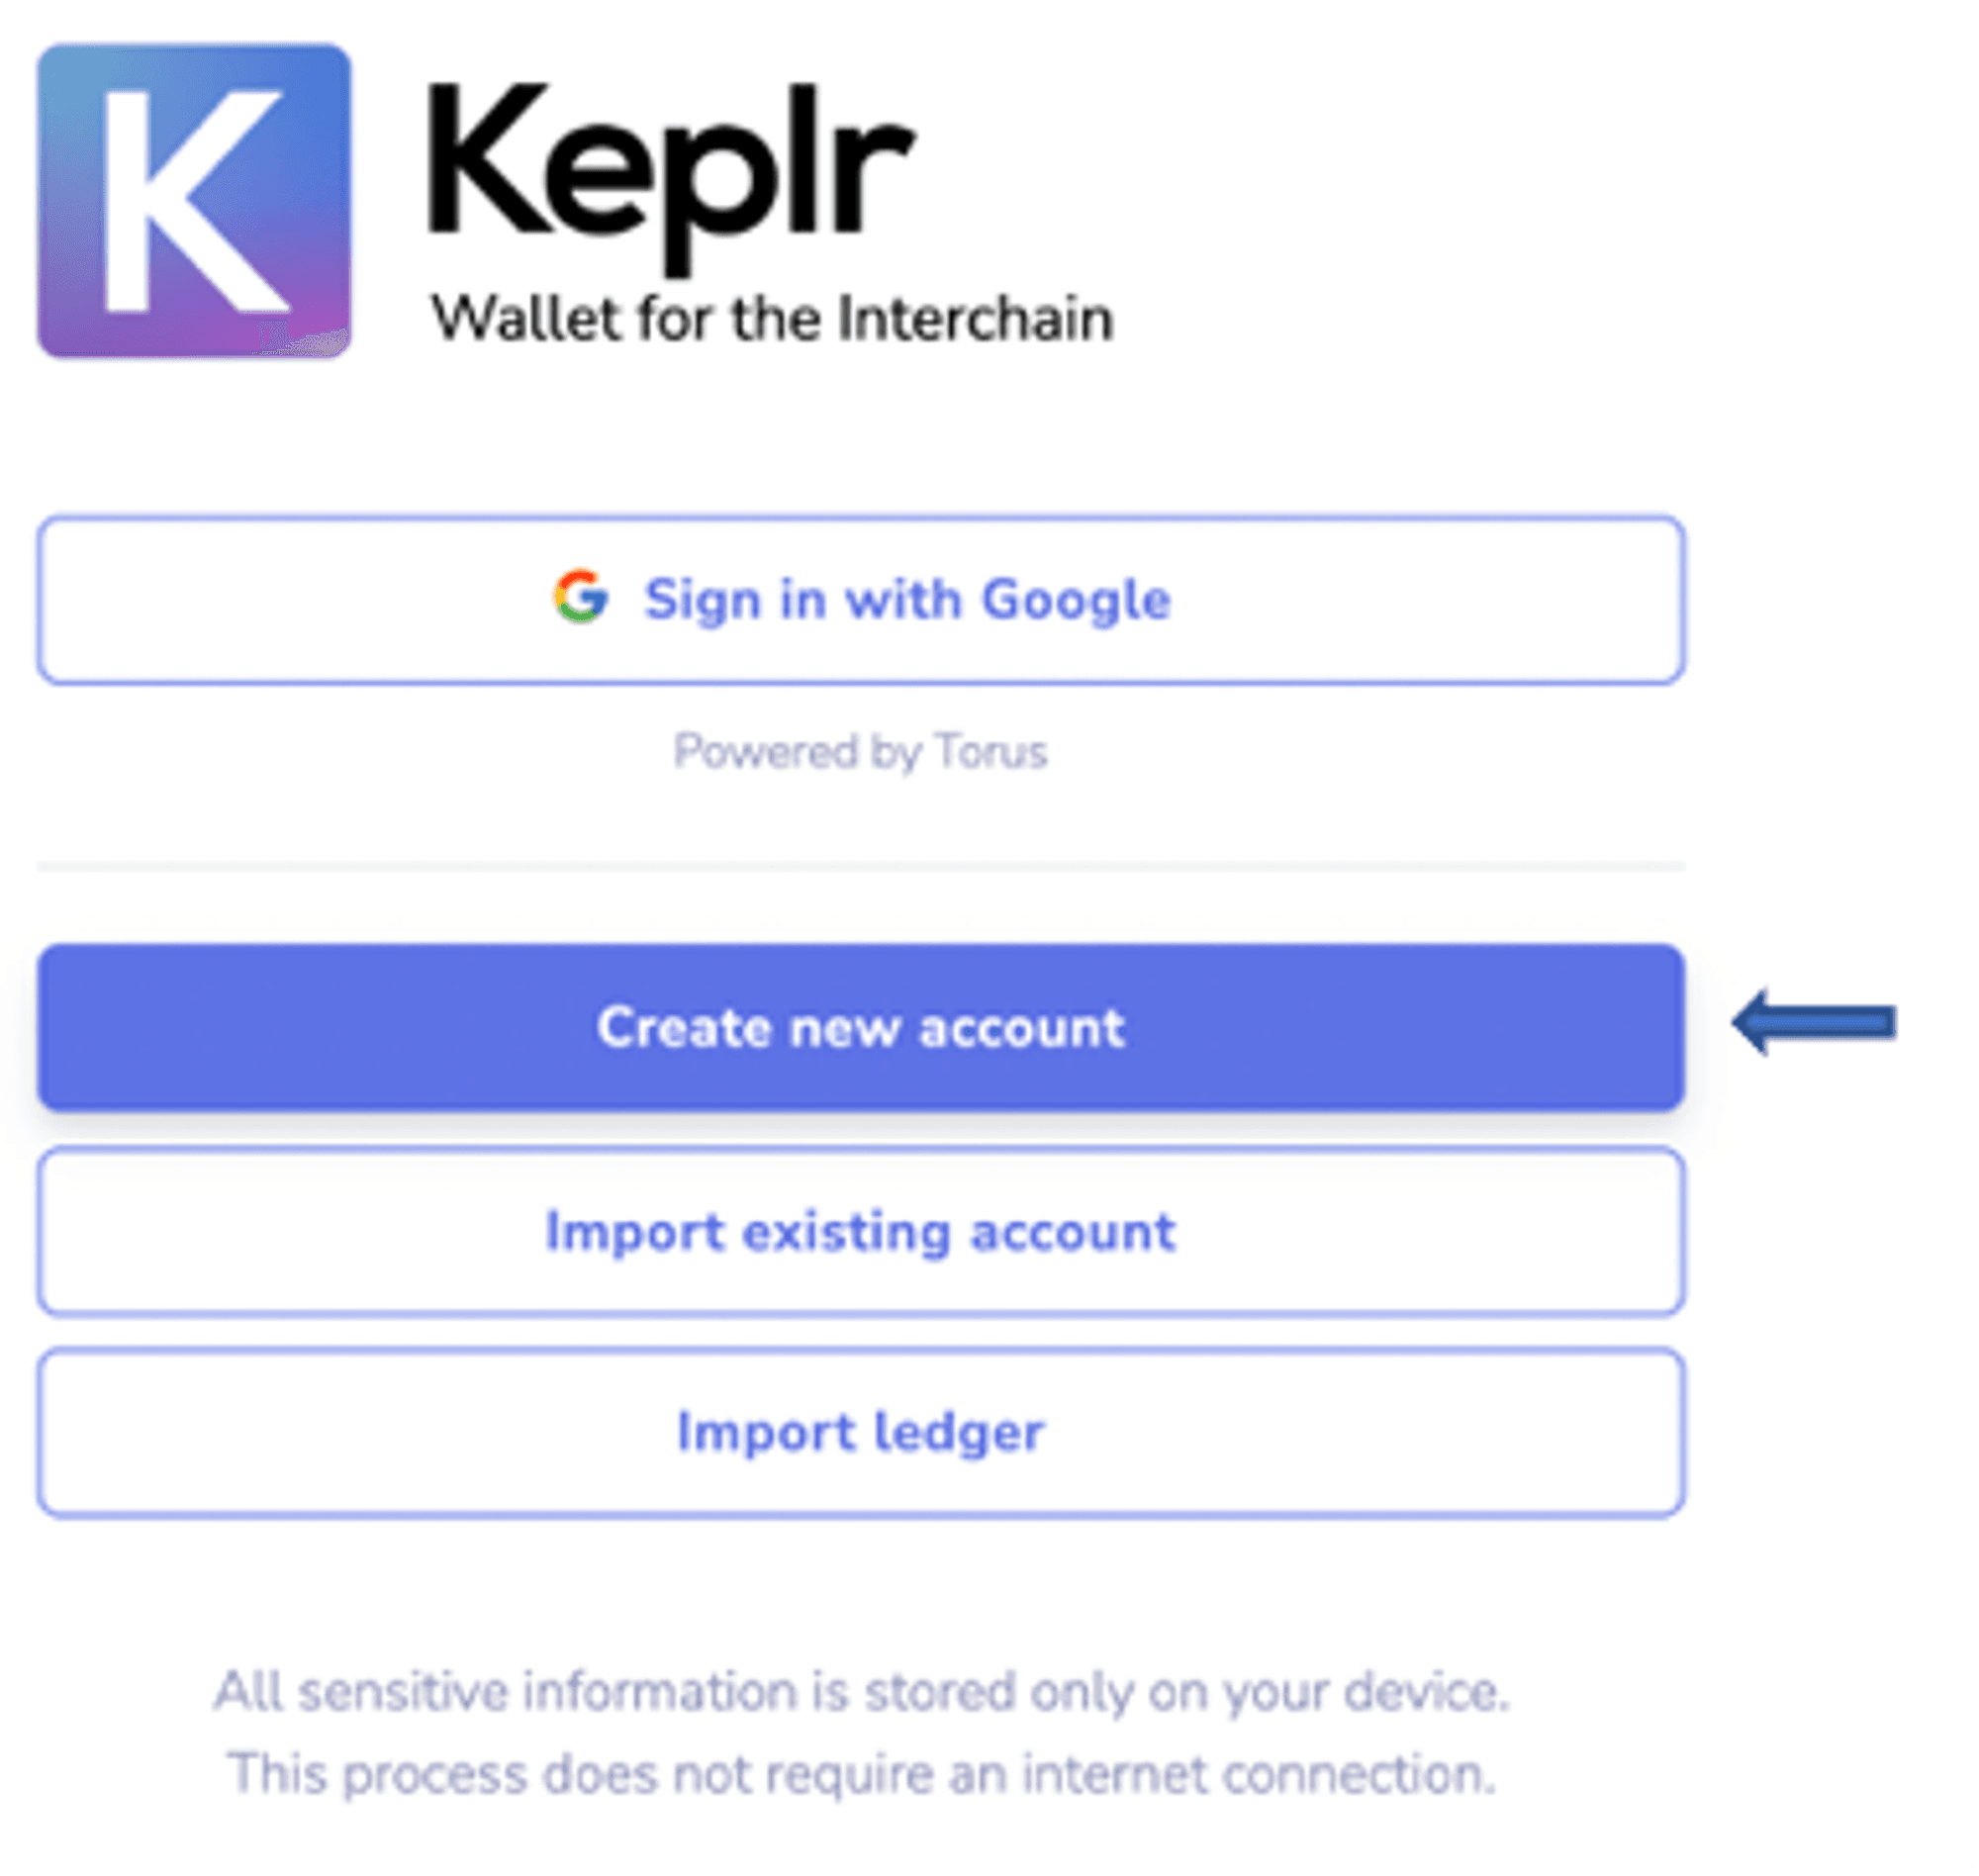
Create a new account
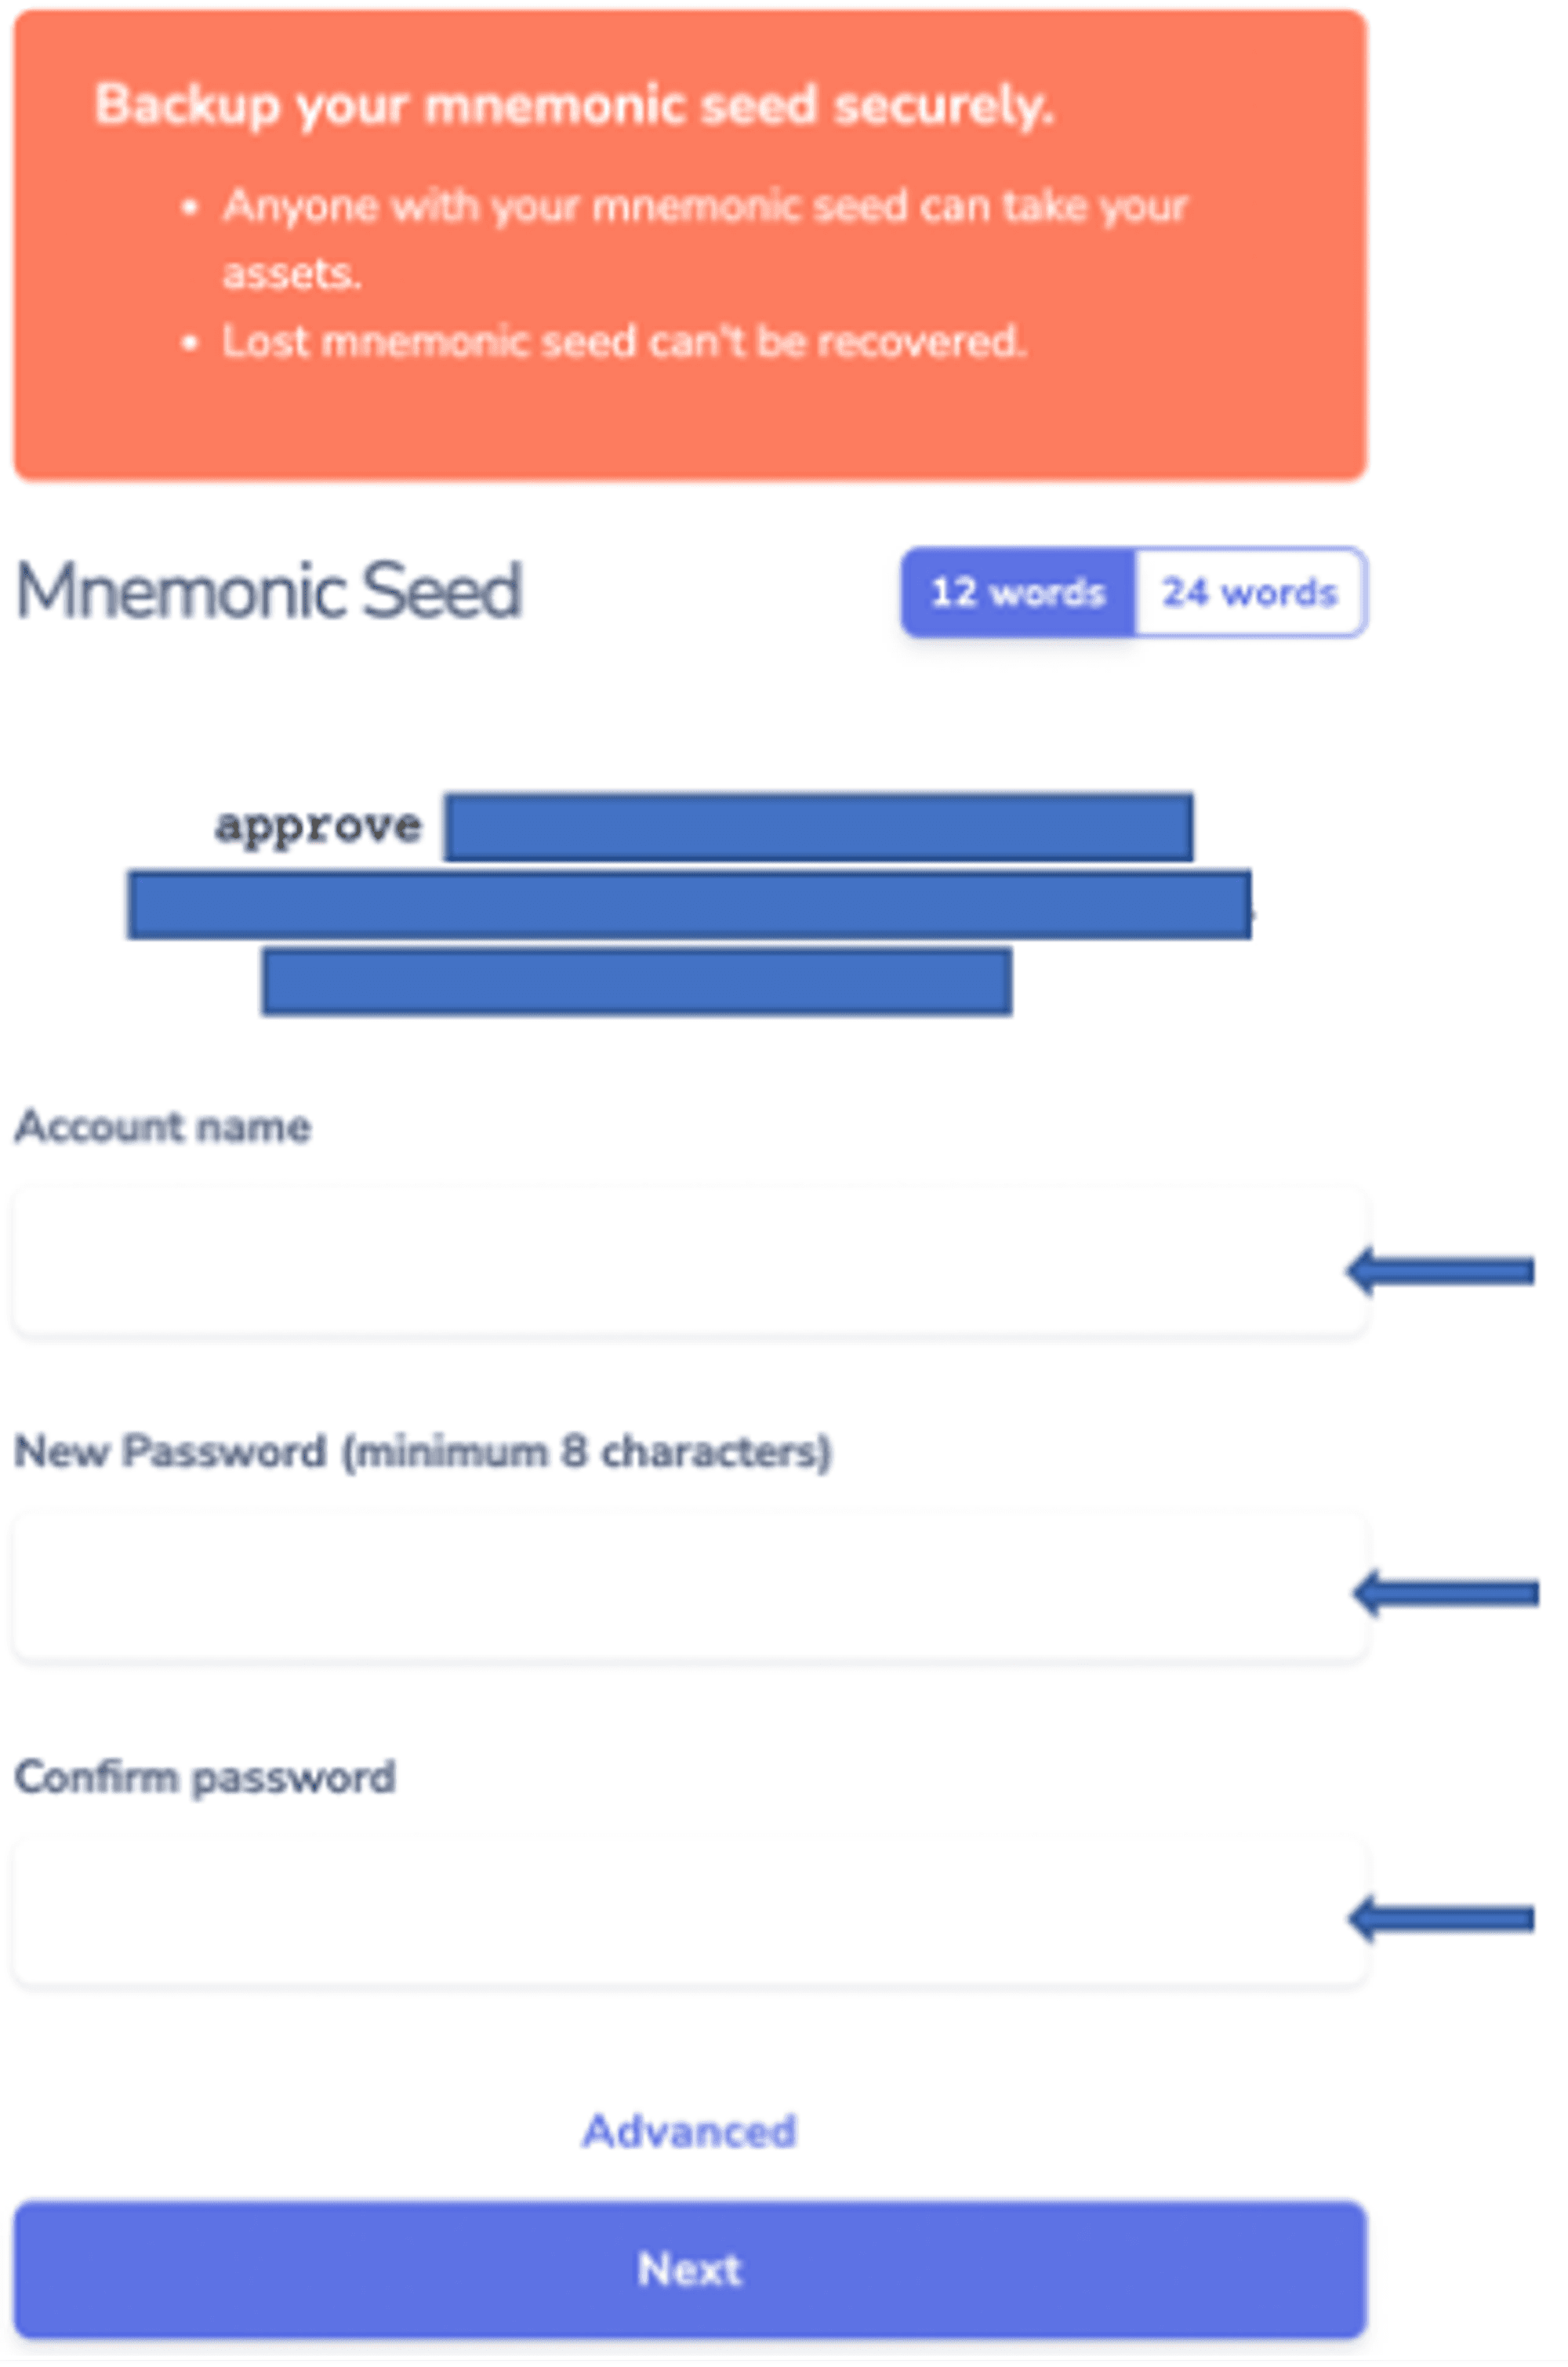
Clicking on Create new account will get you to the page below:
Mnemonic Seed / Account name / Password
Note: The mnemonic seed is hidden for safety reasons.
This step is the most important one. You will have a Mnemonic Seed phrase on you screen, please take the time to note the phrase on a paper and keep that paper in a safe place, out of sight.
You can either choose between 12 or 24 words for your seed phrase. Choose what you want but keep in mind that 24 words is always better in terms of security.
Then, choose an Account name and your password.
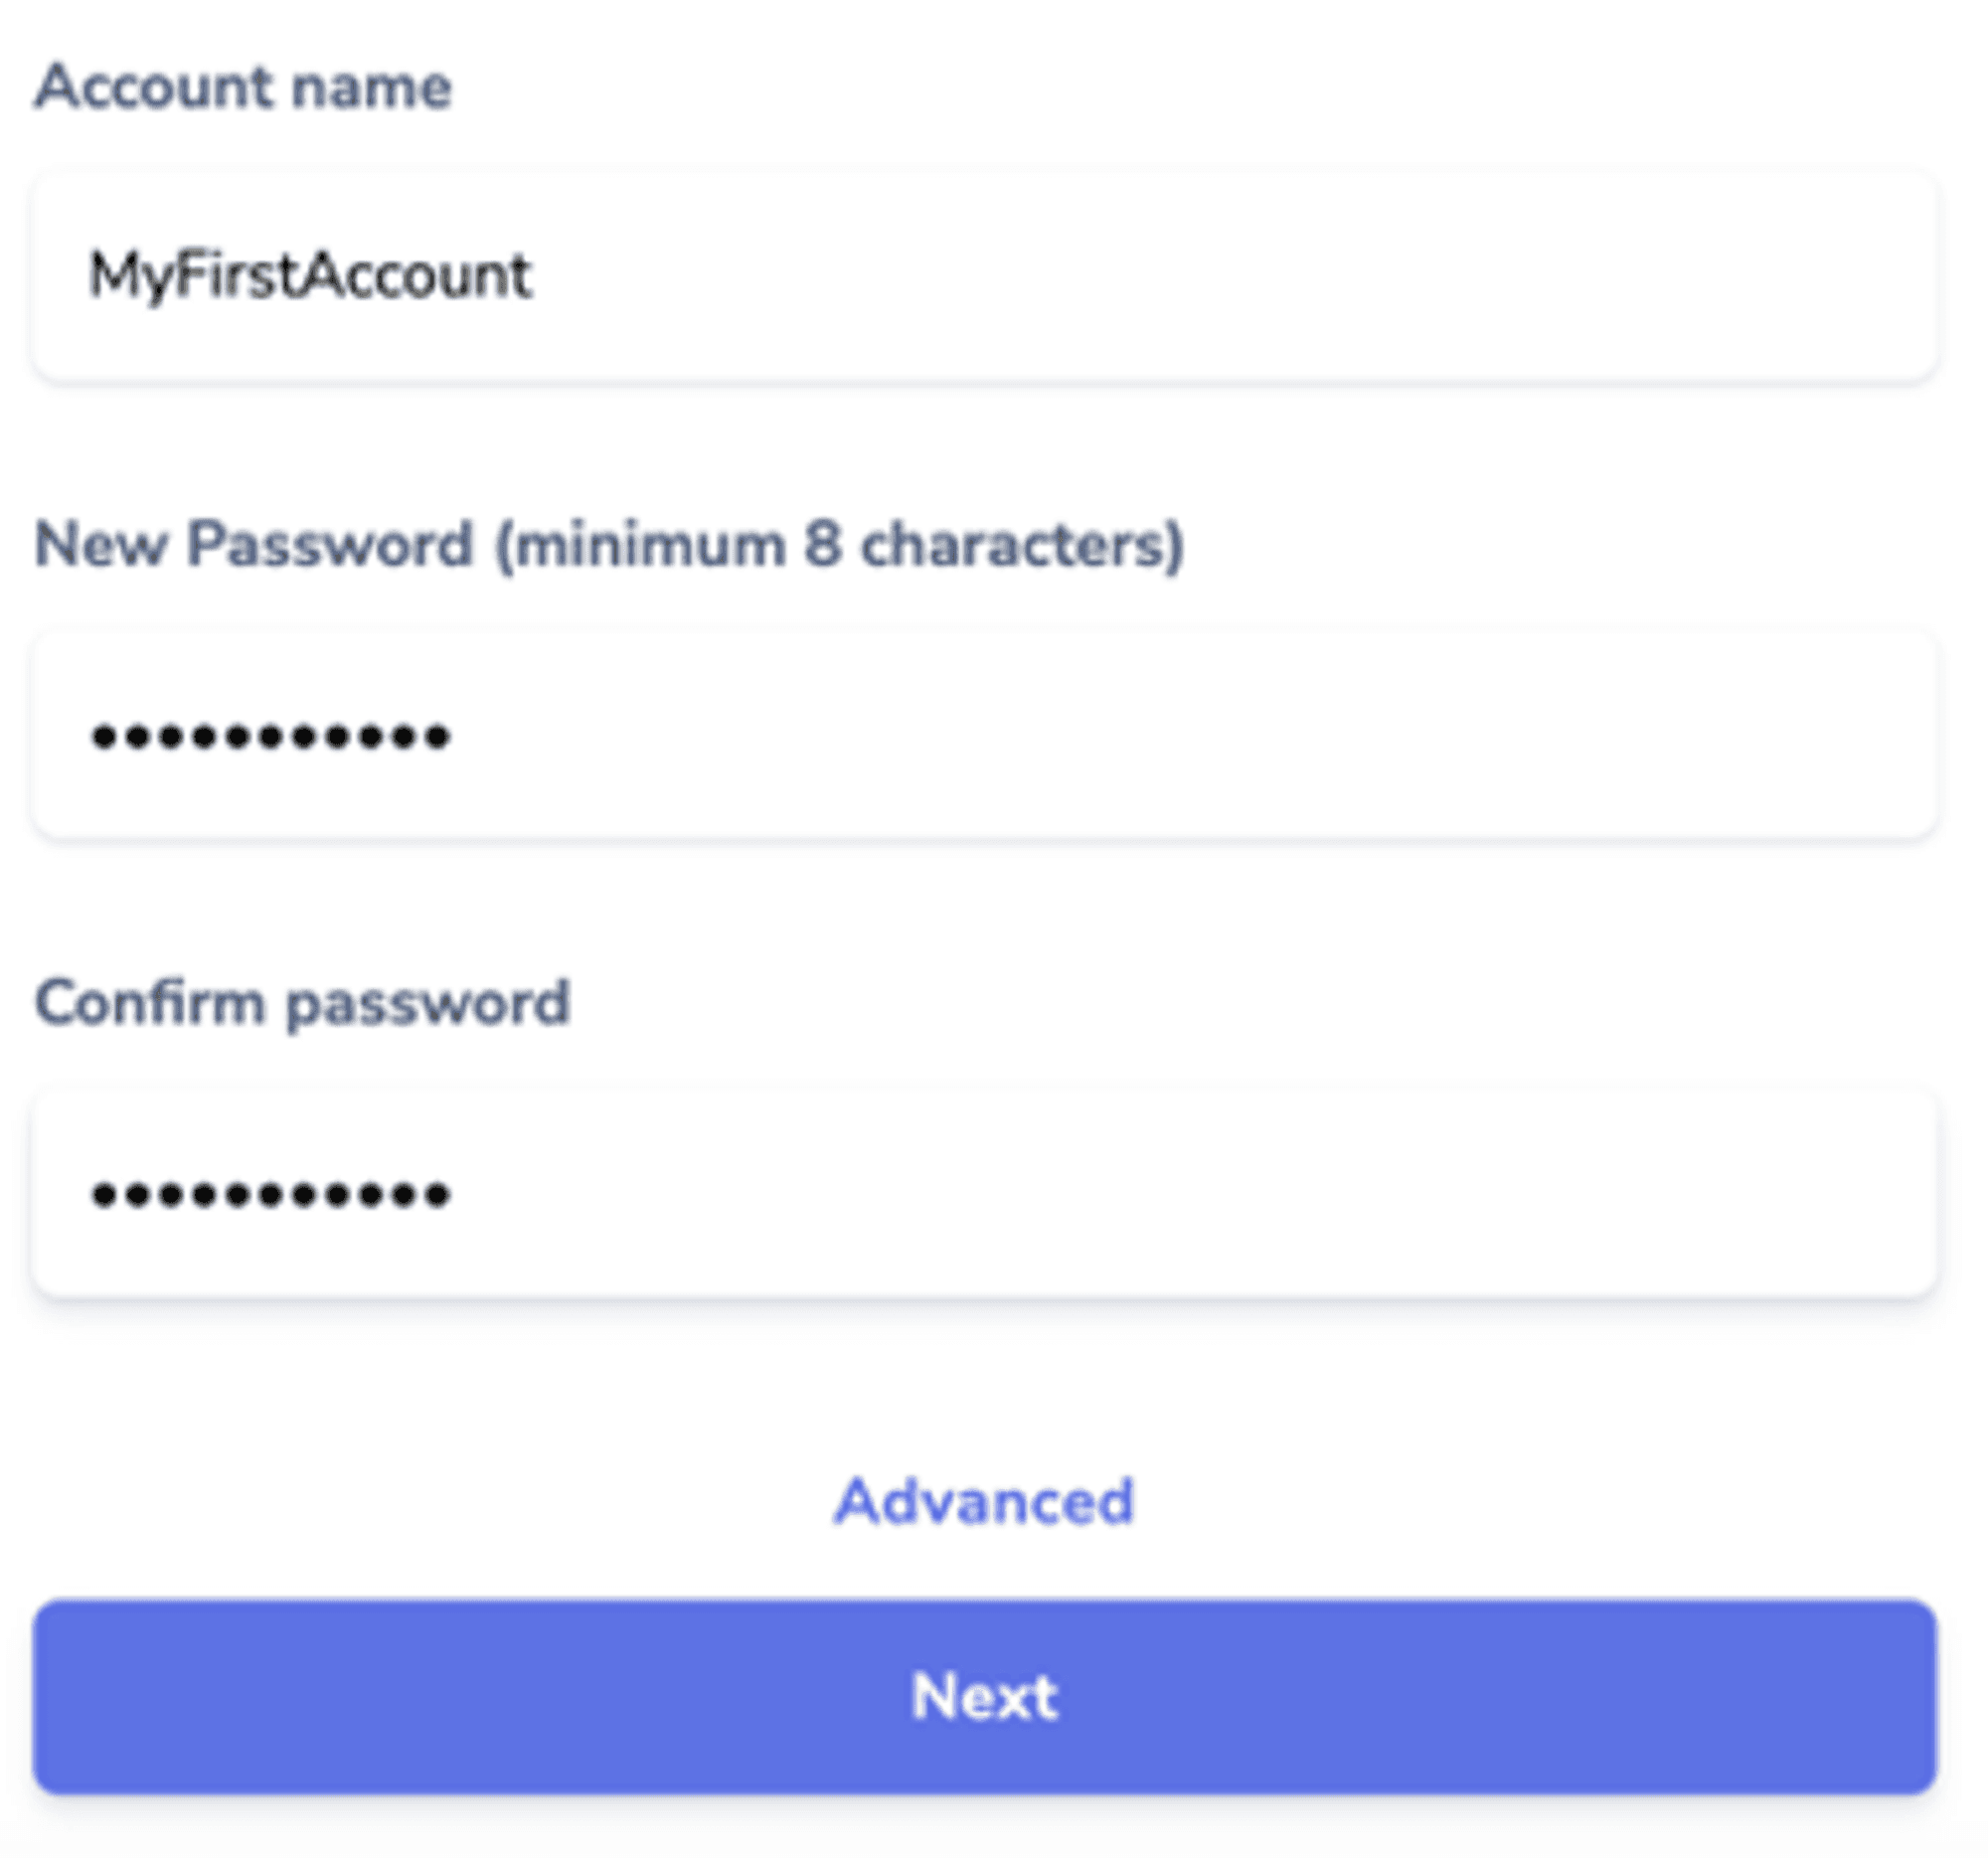
Put your account name and password
Click Next, you will be asked to put you Mnemonic Seed phrase again to ensure that what you wrote on the paper is correct.
If you did all those steps correctly, your wallet will be ready to use!
All set!
⚛️ Step 3: Start using your wallet, send ATOM to it!
You can now send ATOM to your wallet and enter the Cosmos ecosystem.
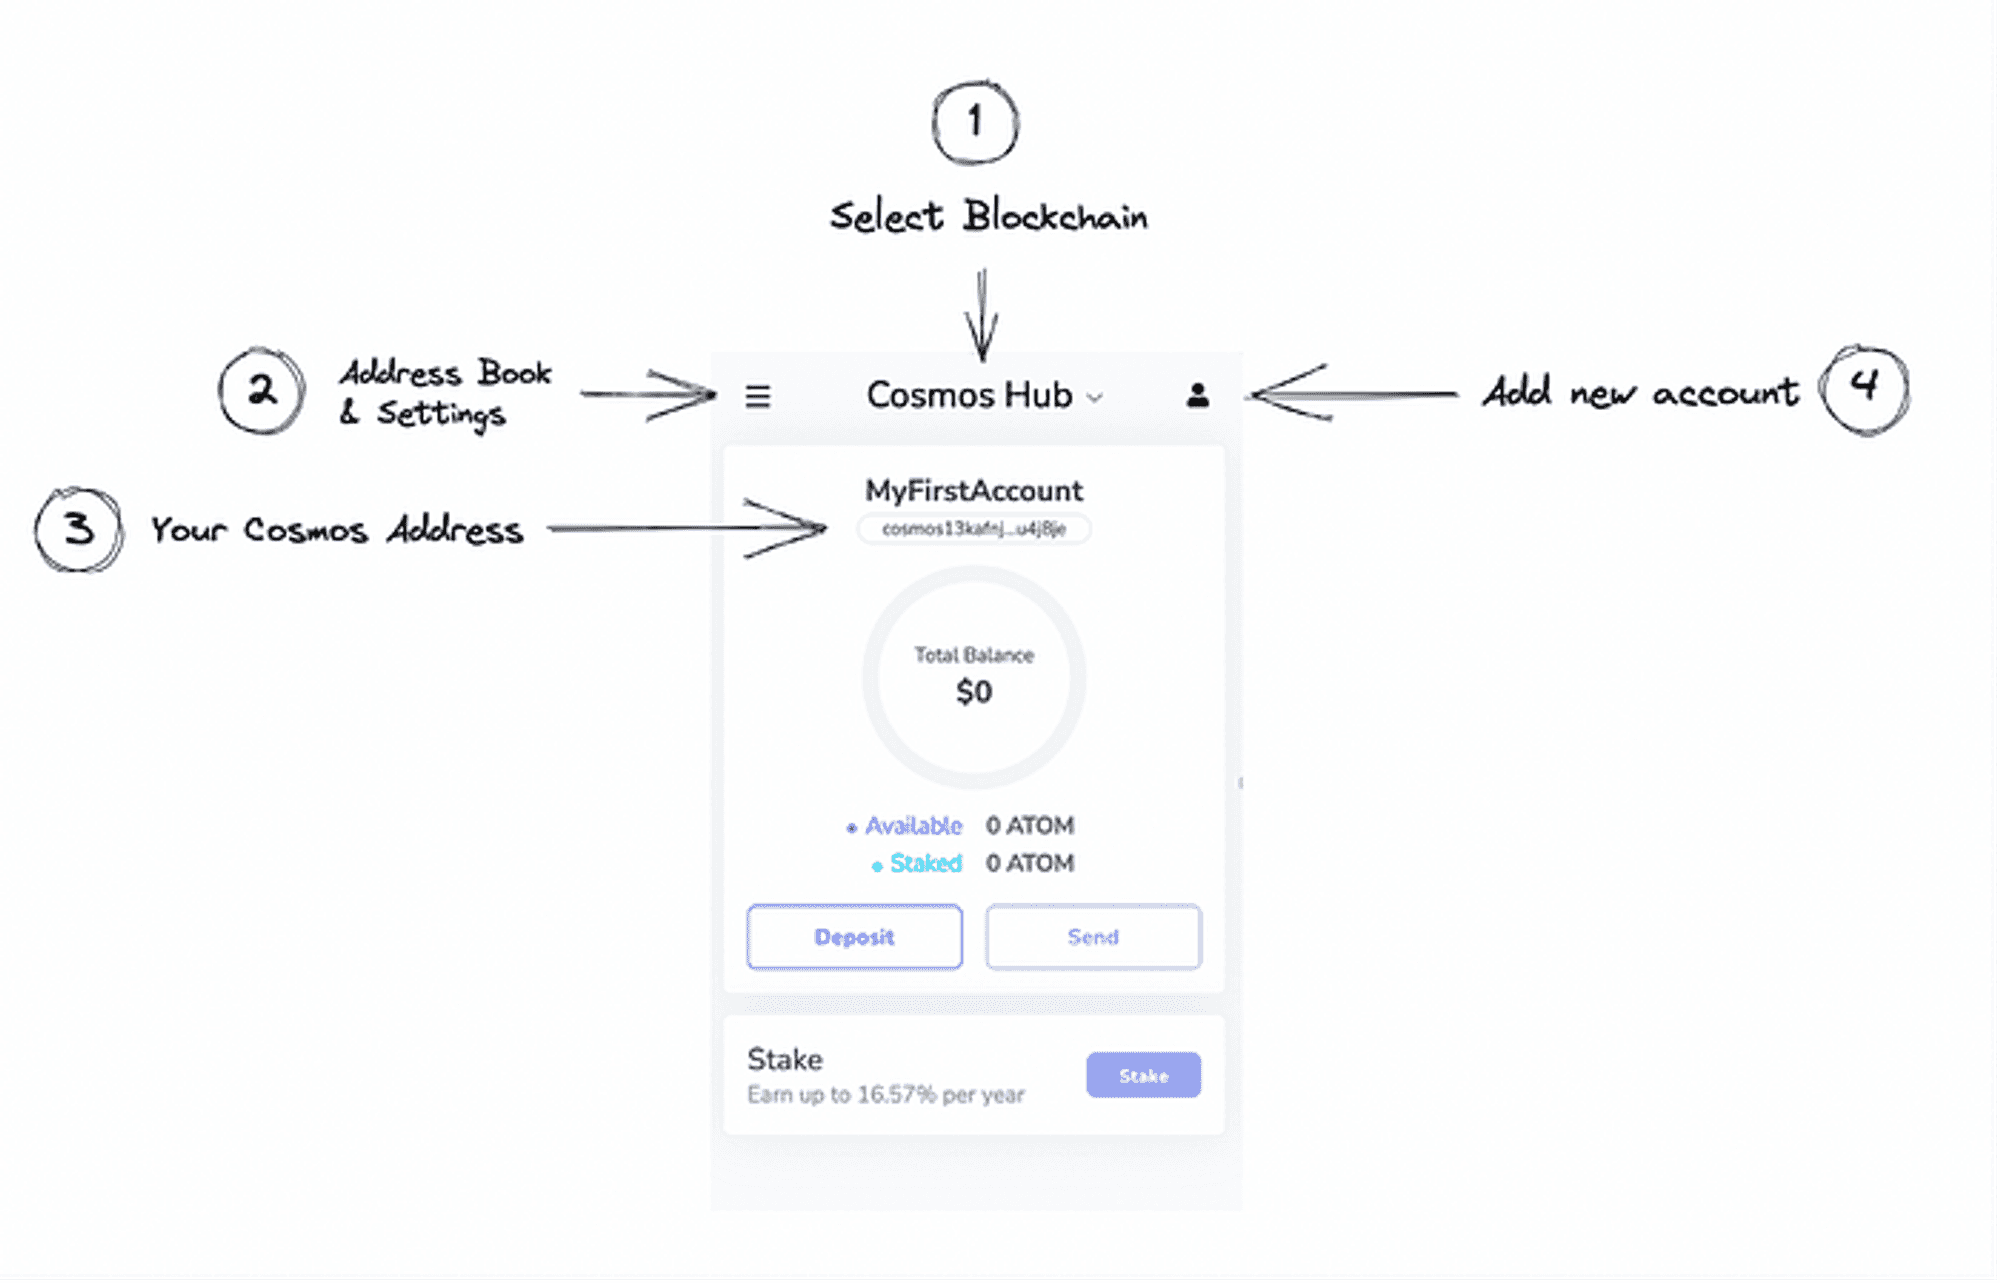
The Keplr wallet is very intuitive, here is a little intro according to the different functionalities:
Keplr wallet interface
Number 1: Button where you can select the different blockchains, you have the choice between the Cosmos Hub, Osmosis, Juno and many more.
Number 2: Here you will be able to register an address you often interact with. It can be a friend address or another wallet you have.
Number 3: This is your Cosmos address, if people want to send you ATOM tokens, you will have to share this public address with them.
Number 4: You can add another account with that functionality, in addition to your current account.
Now you just need to send ATOM tokens to your Keplr wallet. I’ll use Binance for this demo but the same applies to any other exchange that supports ATOM.
On Binance, I’ve just bought 1 ATOM which is now present on my spot wallet.

Withdraw button on Binance
Click on Withdraw and this is what you will get:
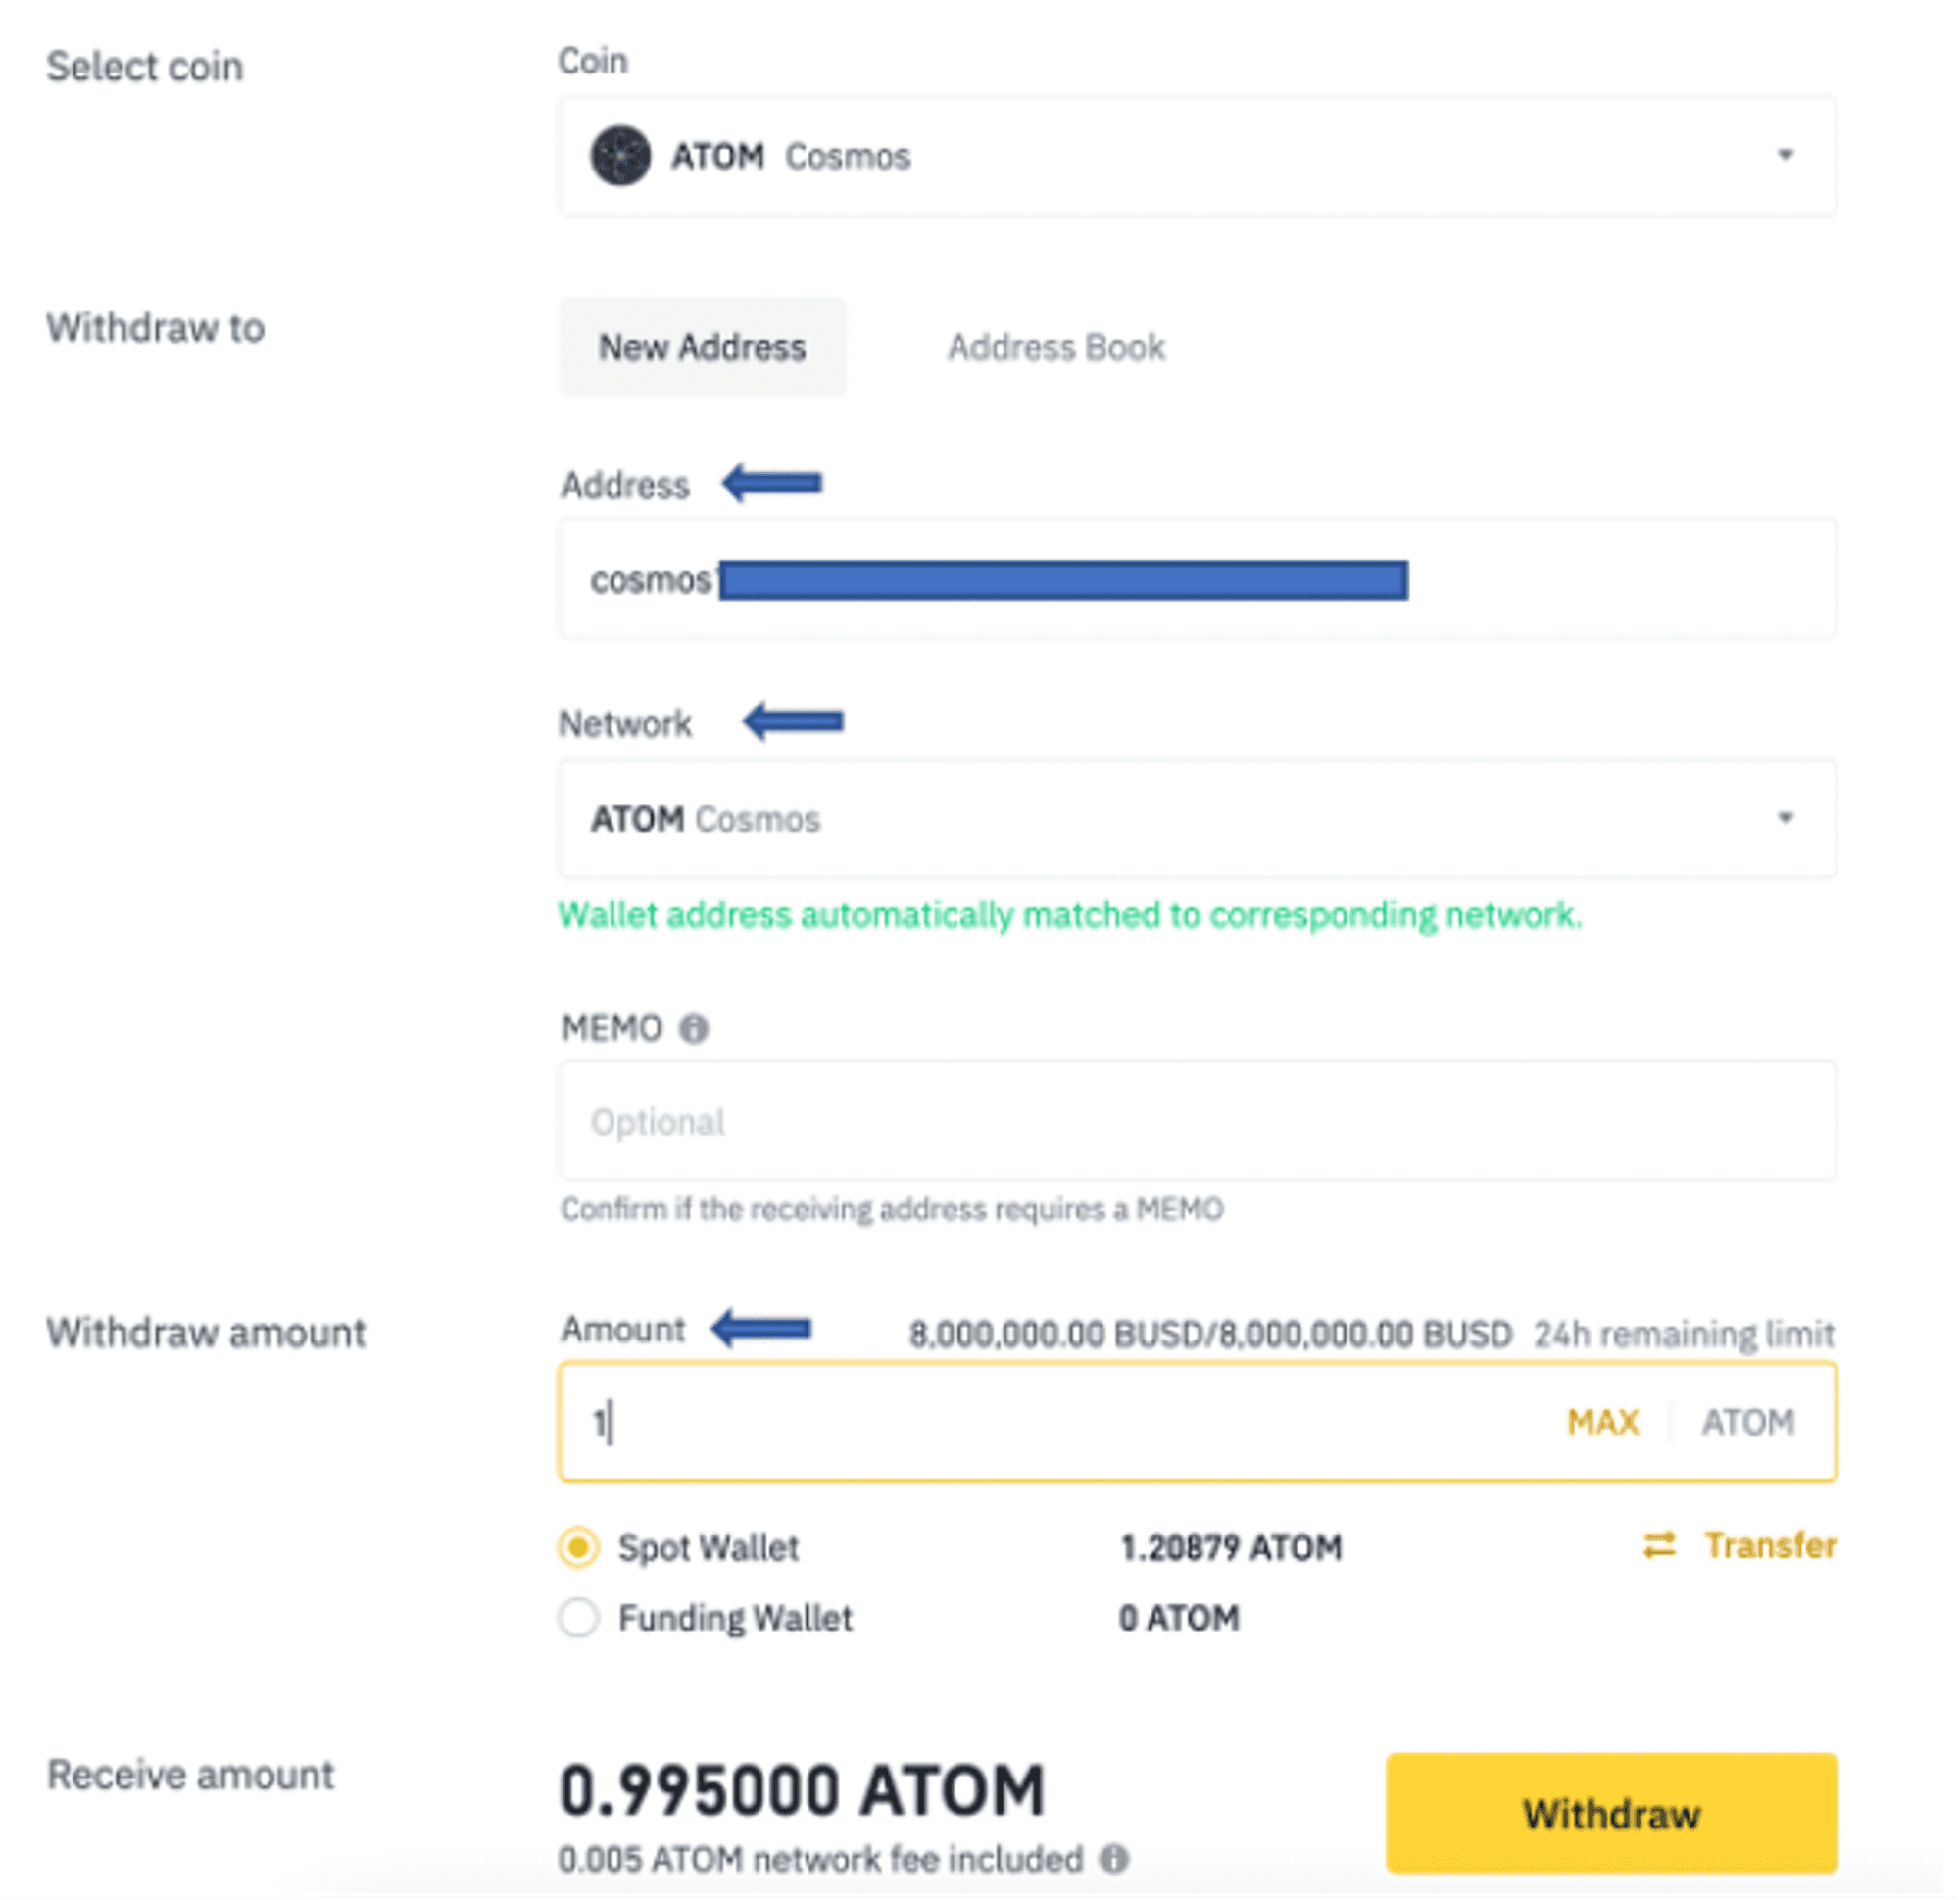
Withdraw from Binance
There are three things to do here:
1. Copy and paste you Cosmos Hub — Keplr address (the one starting with cosmos…) on Binance
2. Choose Cosmos as Network
3. Select the amount you want to send, and click on Withdraw
Note: If this is your first time doing that, I strongly suggest that you send a little amount first to assure that you receive the money and if so, then you can send more.
Wait a few minutes, you should receive your ATOM tokens on your Keplr wallet.
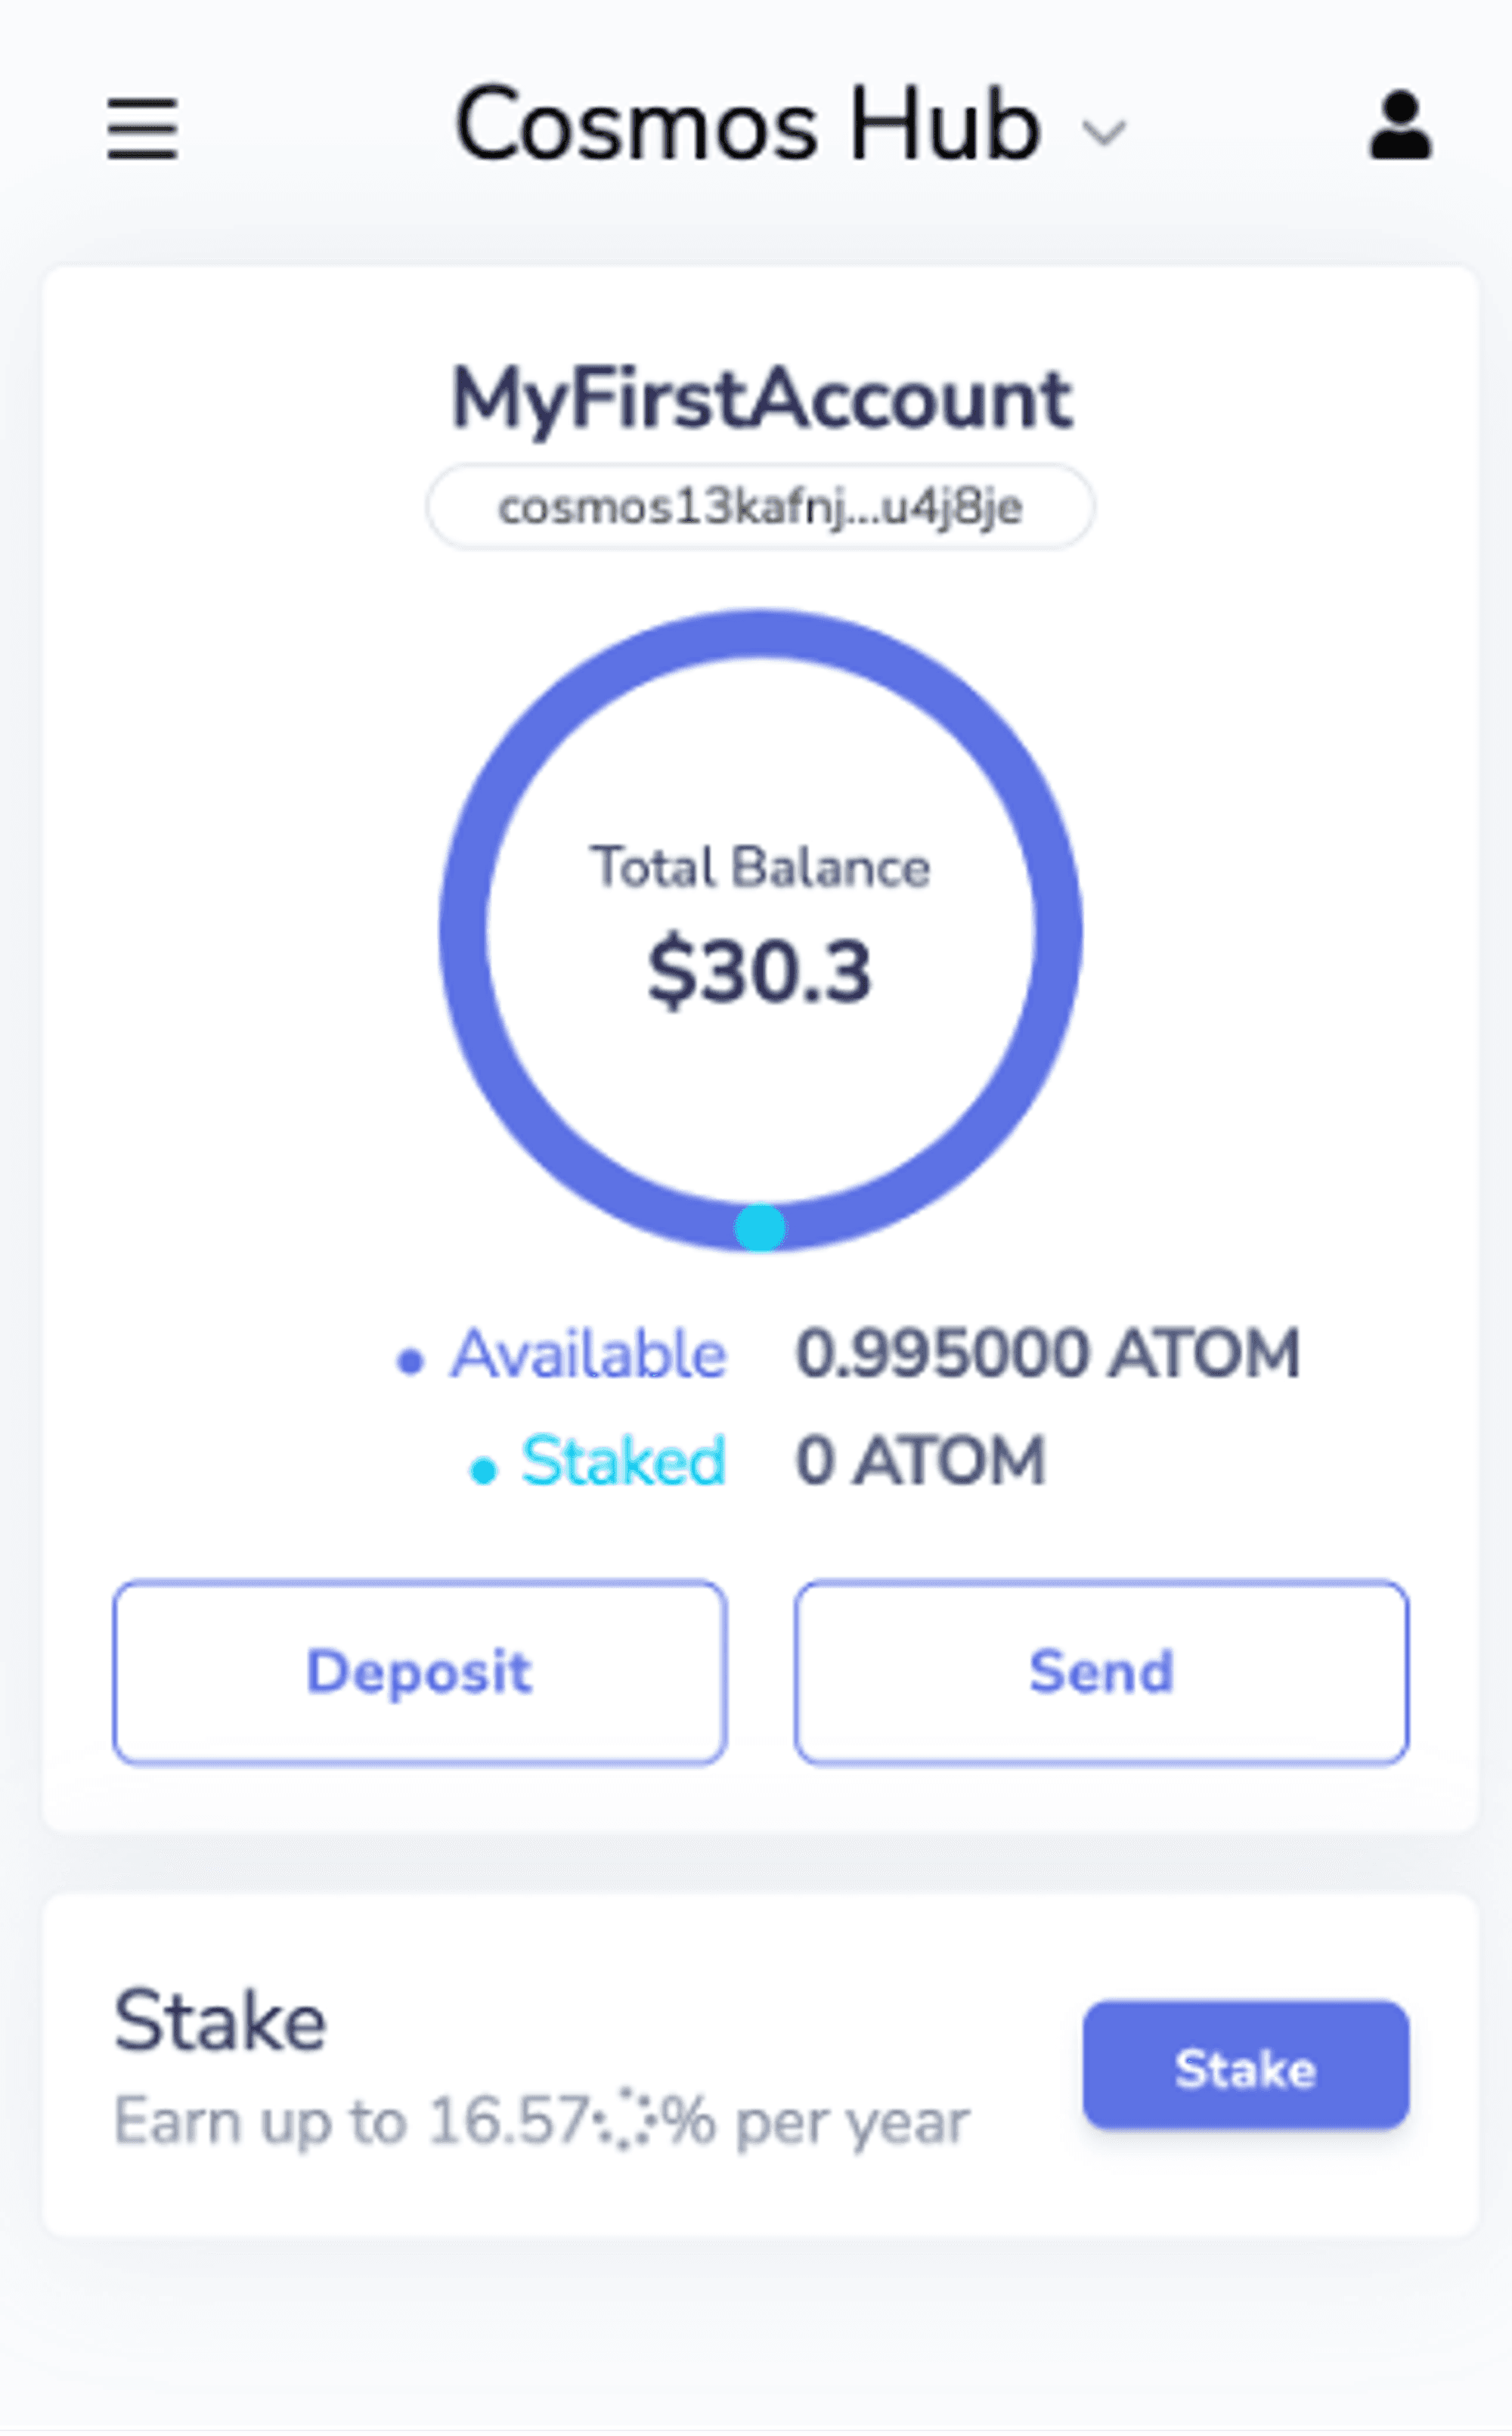
ATOM received
✅ Step 4: Stake your tokens and start earning staking rewards
The Keplr wallet is very handy to delegate your tokens to a validator and earn the inflation rate, also known as staking rewards. For ATOM tokens, the inflation rate is about 16.57% per year and if you want to hold your tokens for a medium/long timeframe, then you should stake your them otherwise your value will be diluted.
Let’s see how you can delegate your tokens to a validator.
At the bottom of the Keplr wallet, you have a Stake button, click on it:
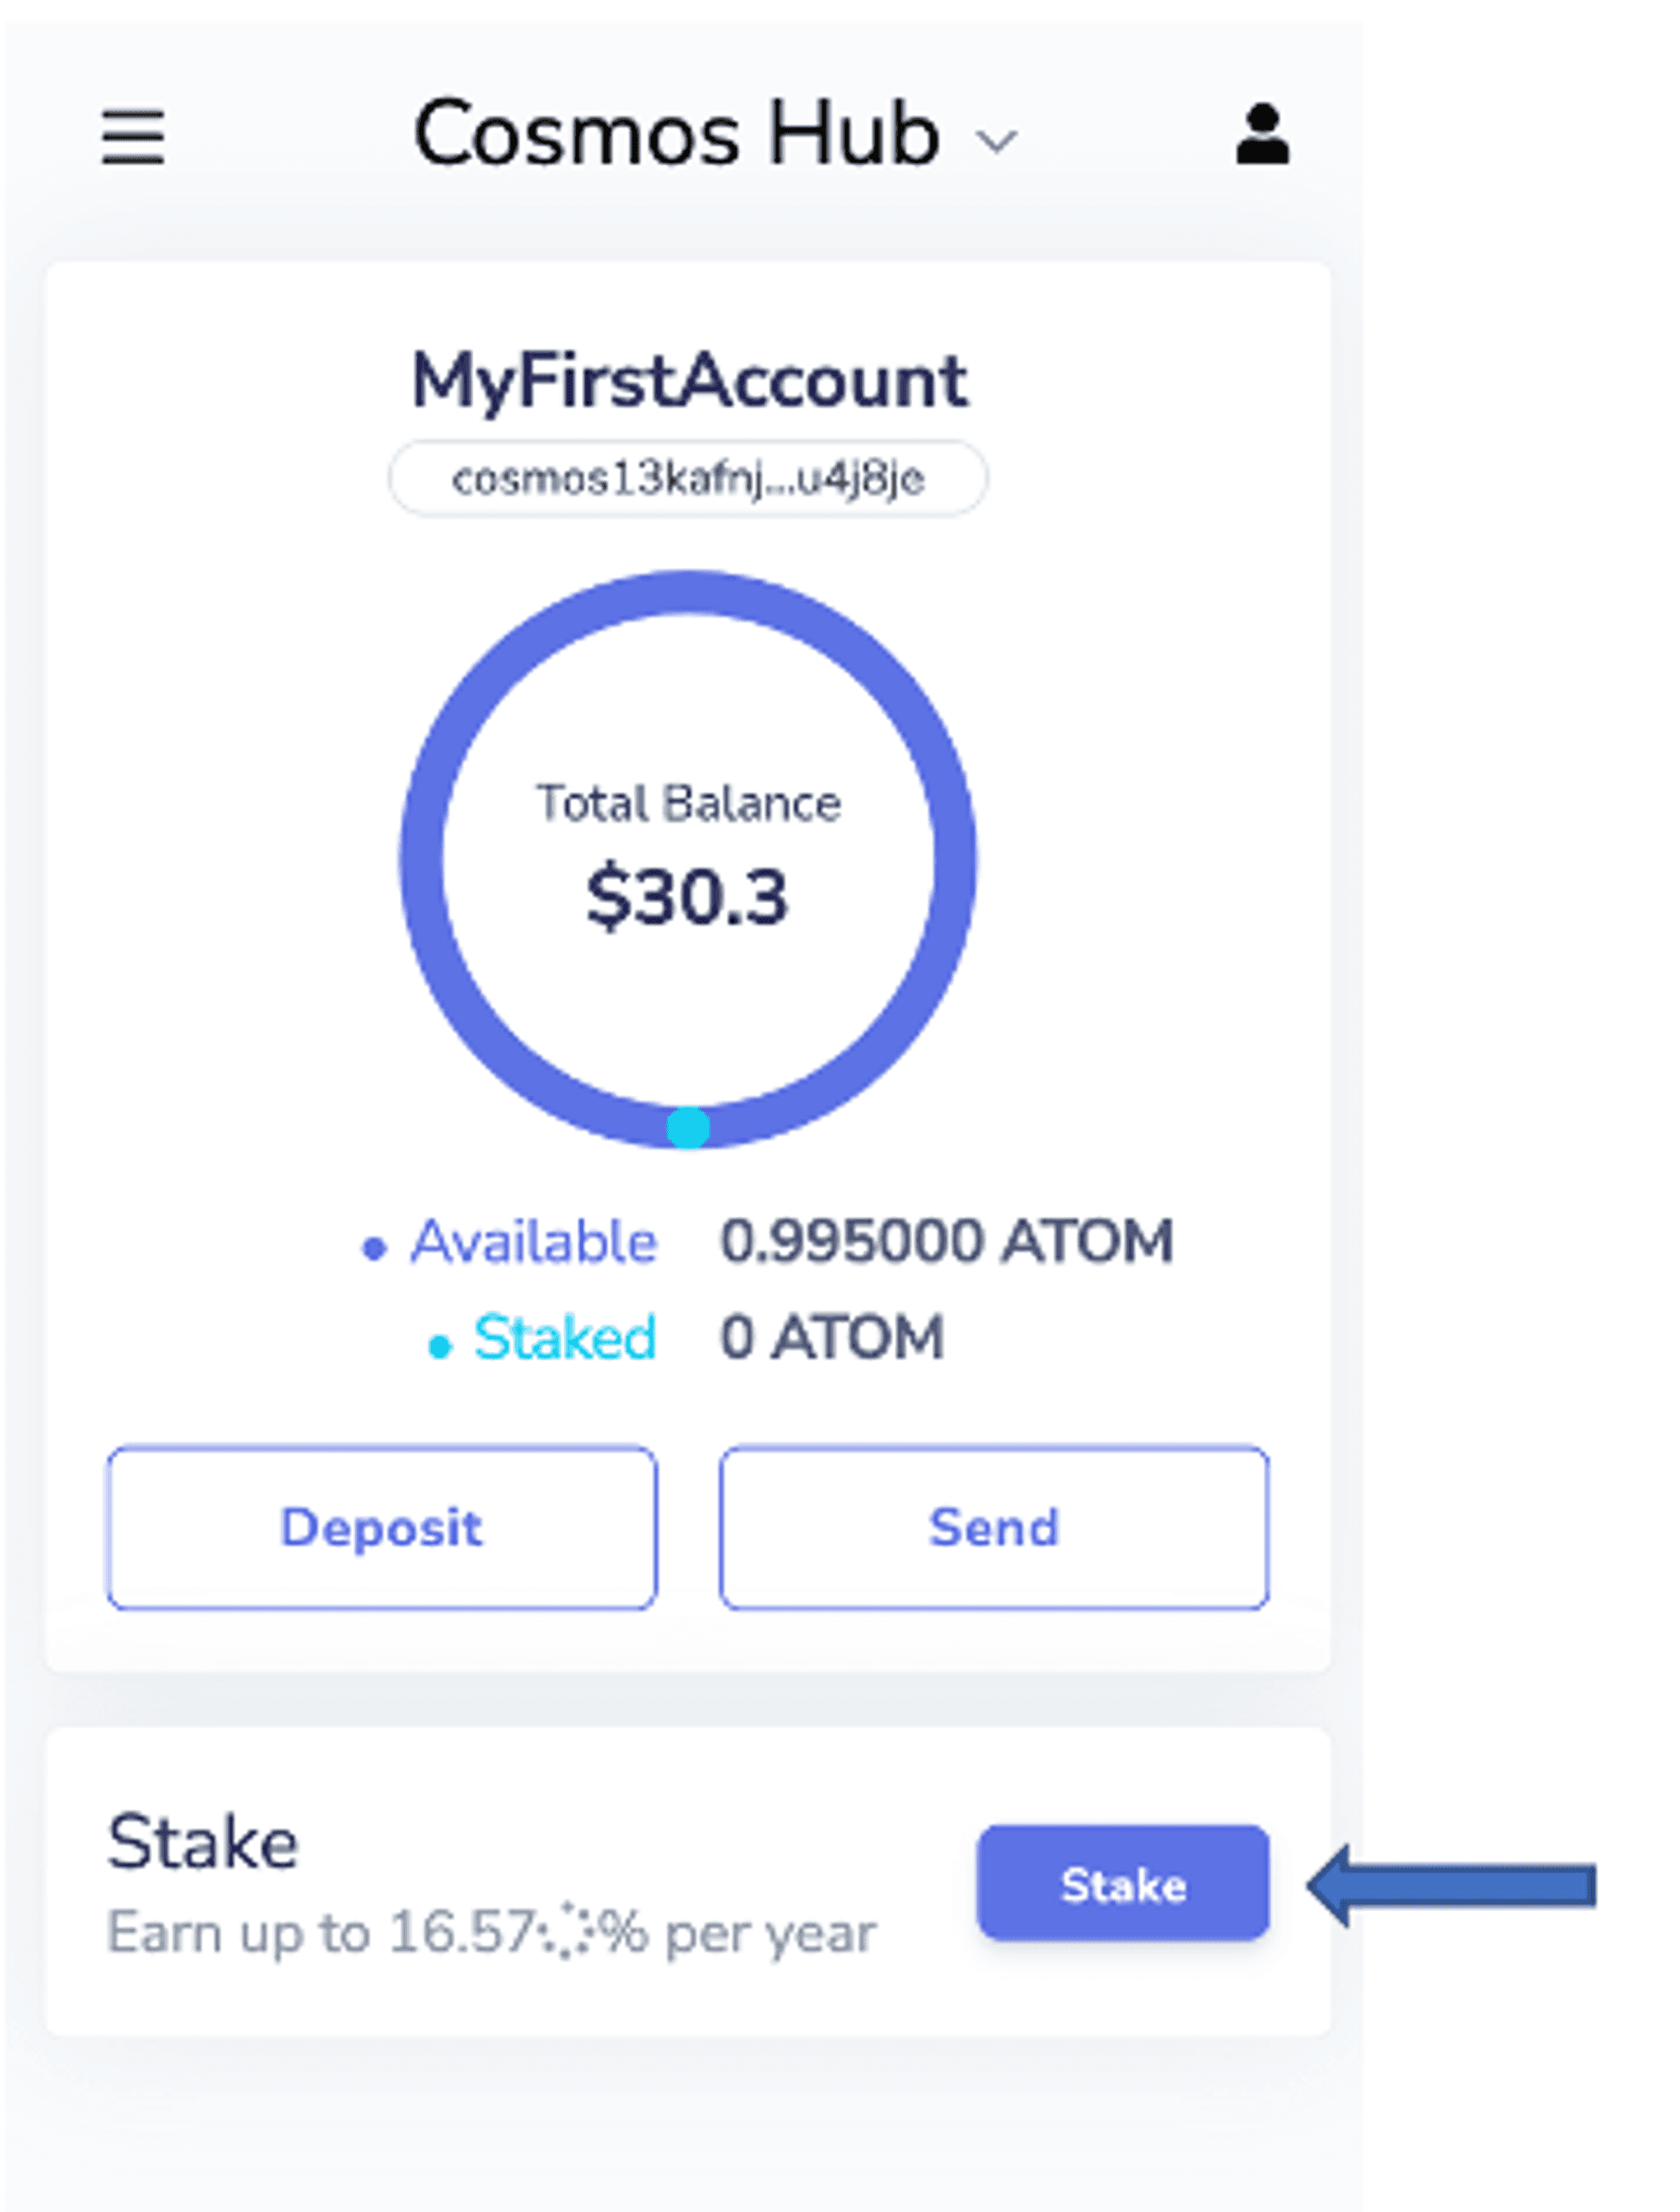
Staking button
You will get a list of different validators, choose one wisely and if you don’t have any validator in mind, you can choose Imperator.co which is our validator.
Imperator is a professional proof-of-stake validator on the Cosmos ecosystem, we provide a reliable infrastructure and support more than 20 blockchains, our commission are very low: 1% for our ATOM delegators.
Once you found us, click on Manage and check our description:
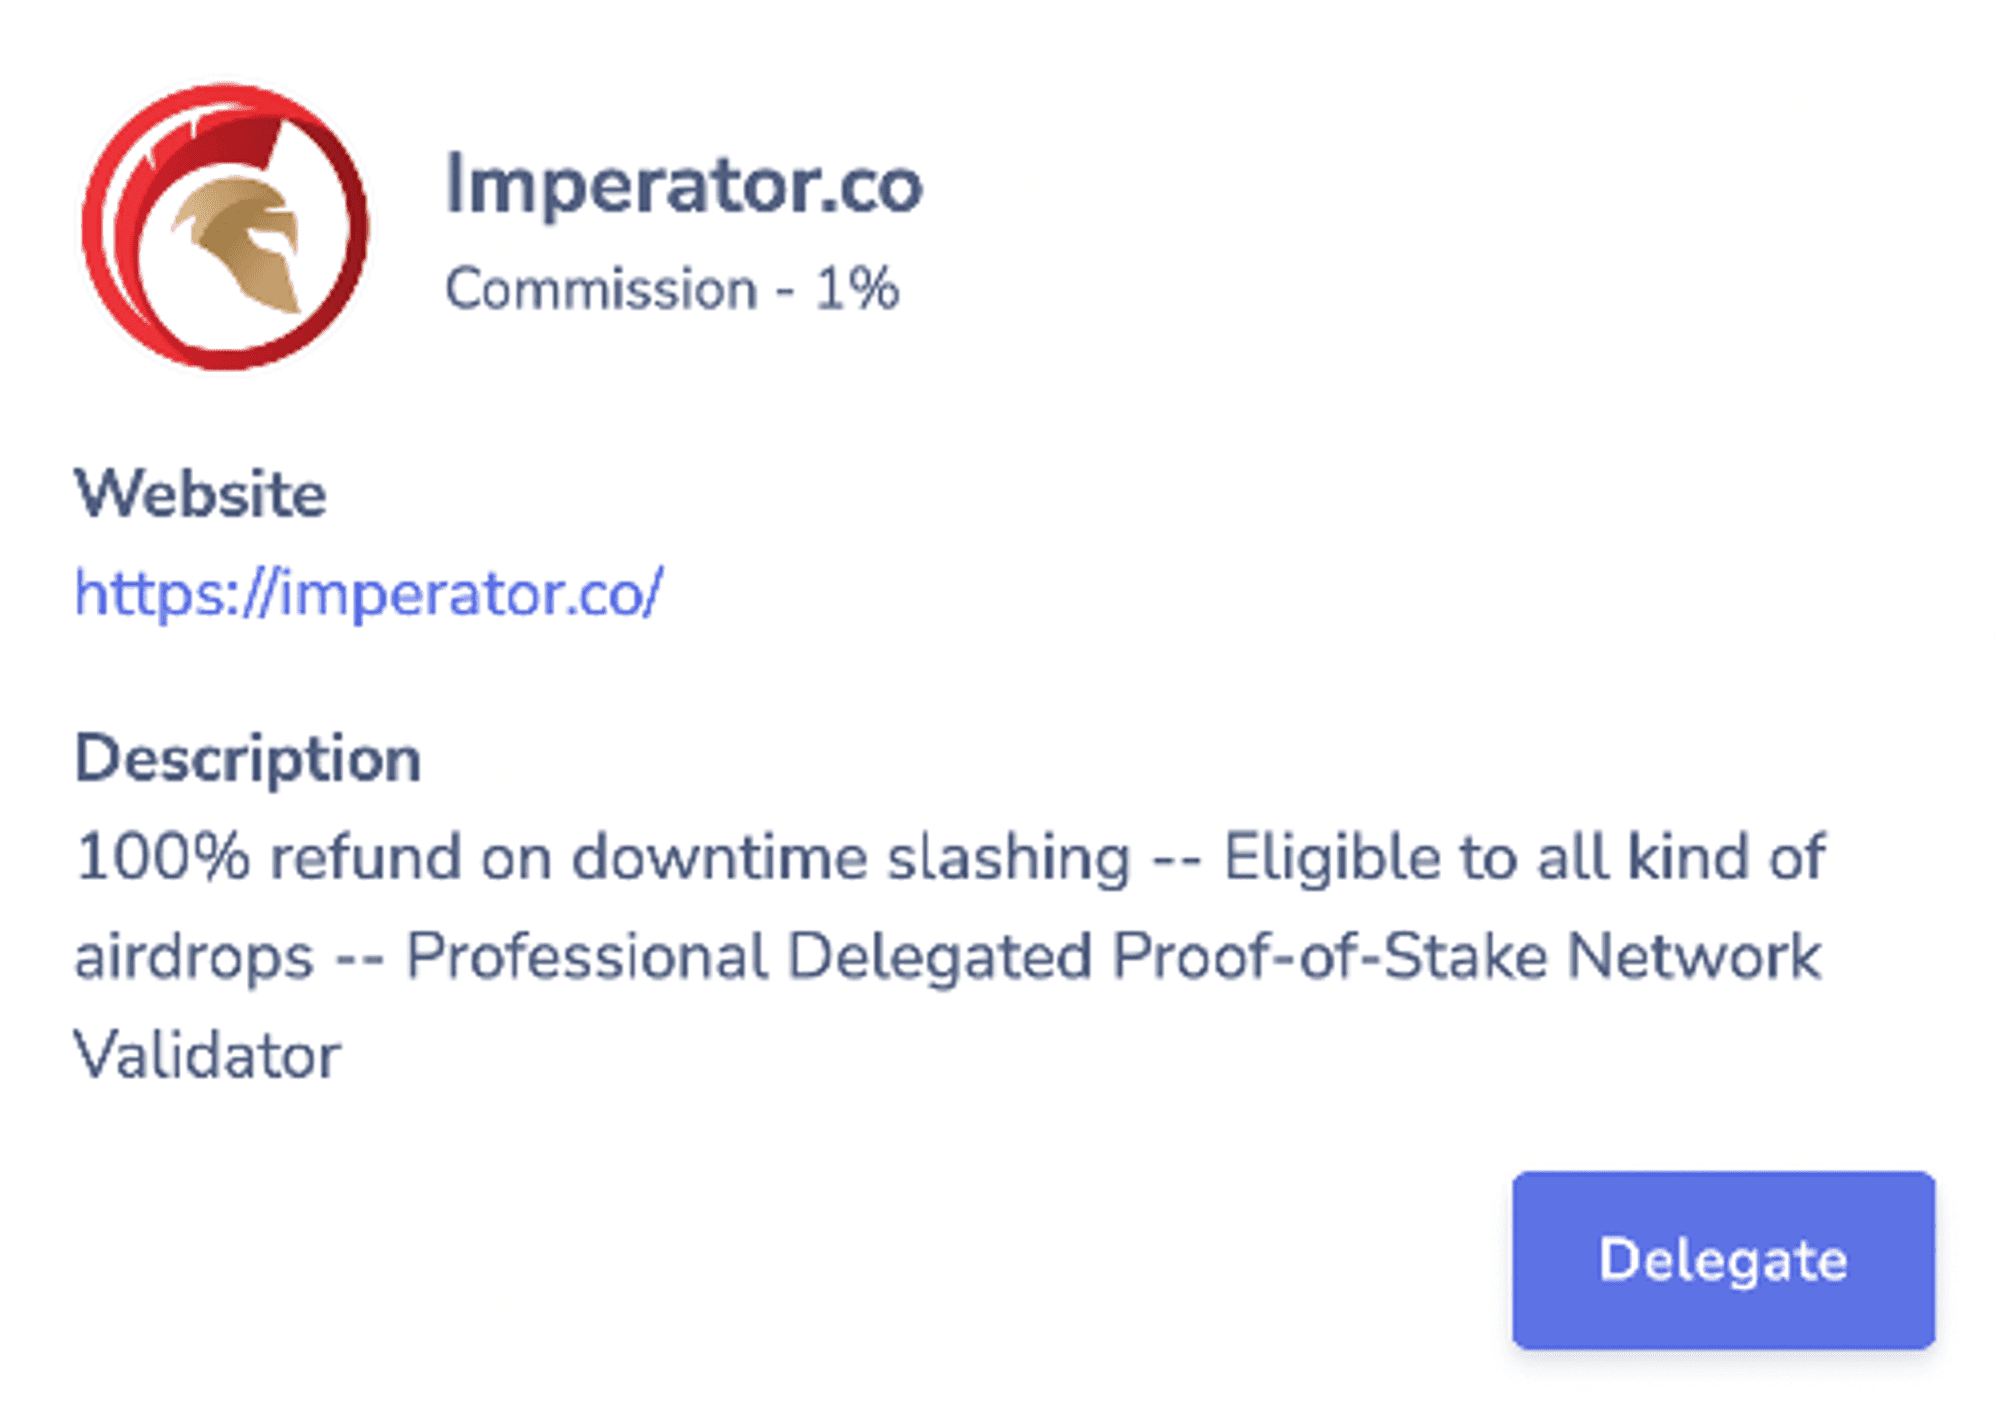
Delegation
Click on Delegate:
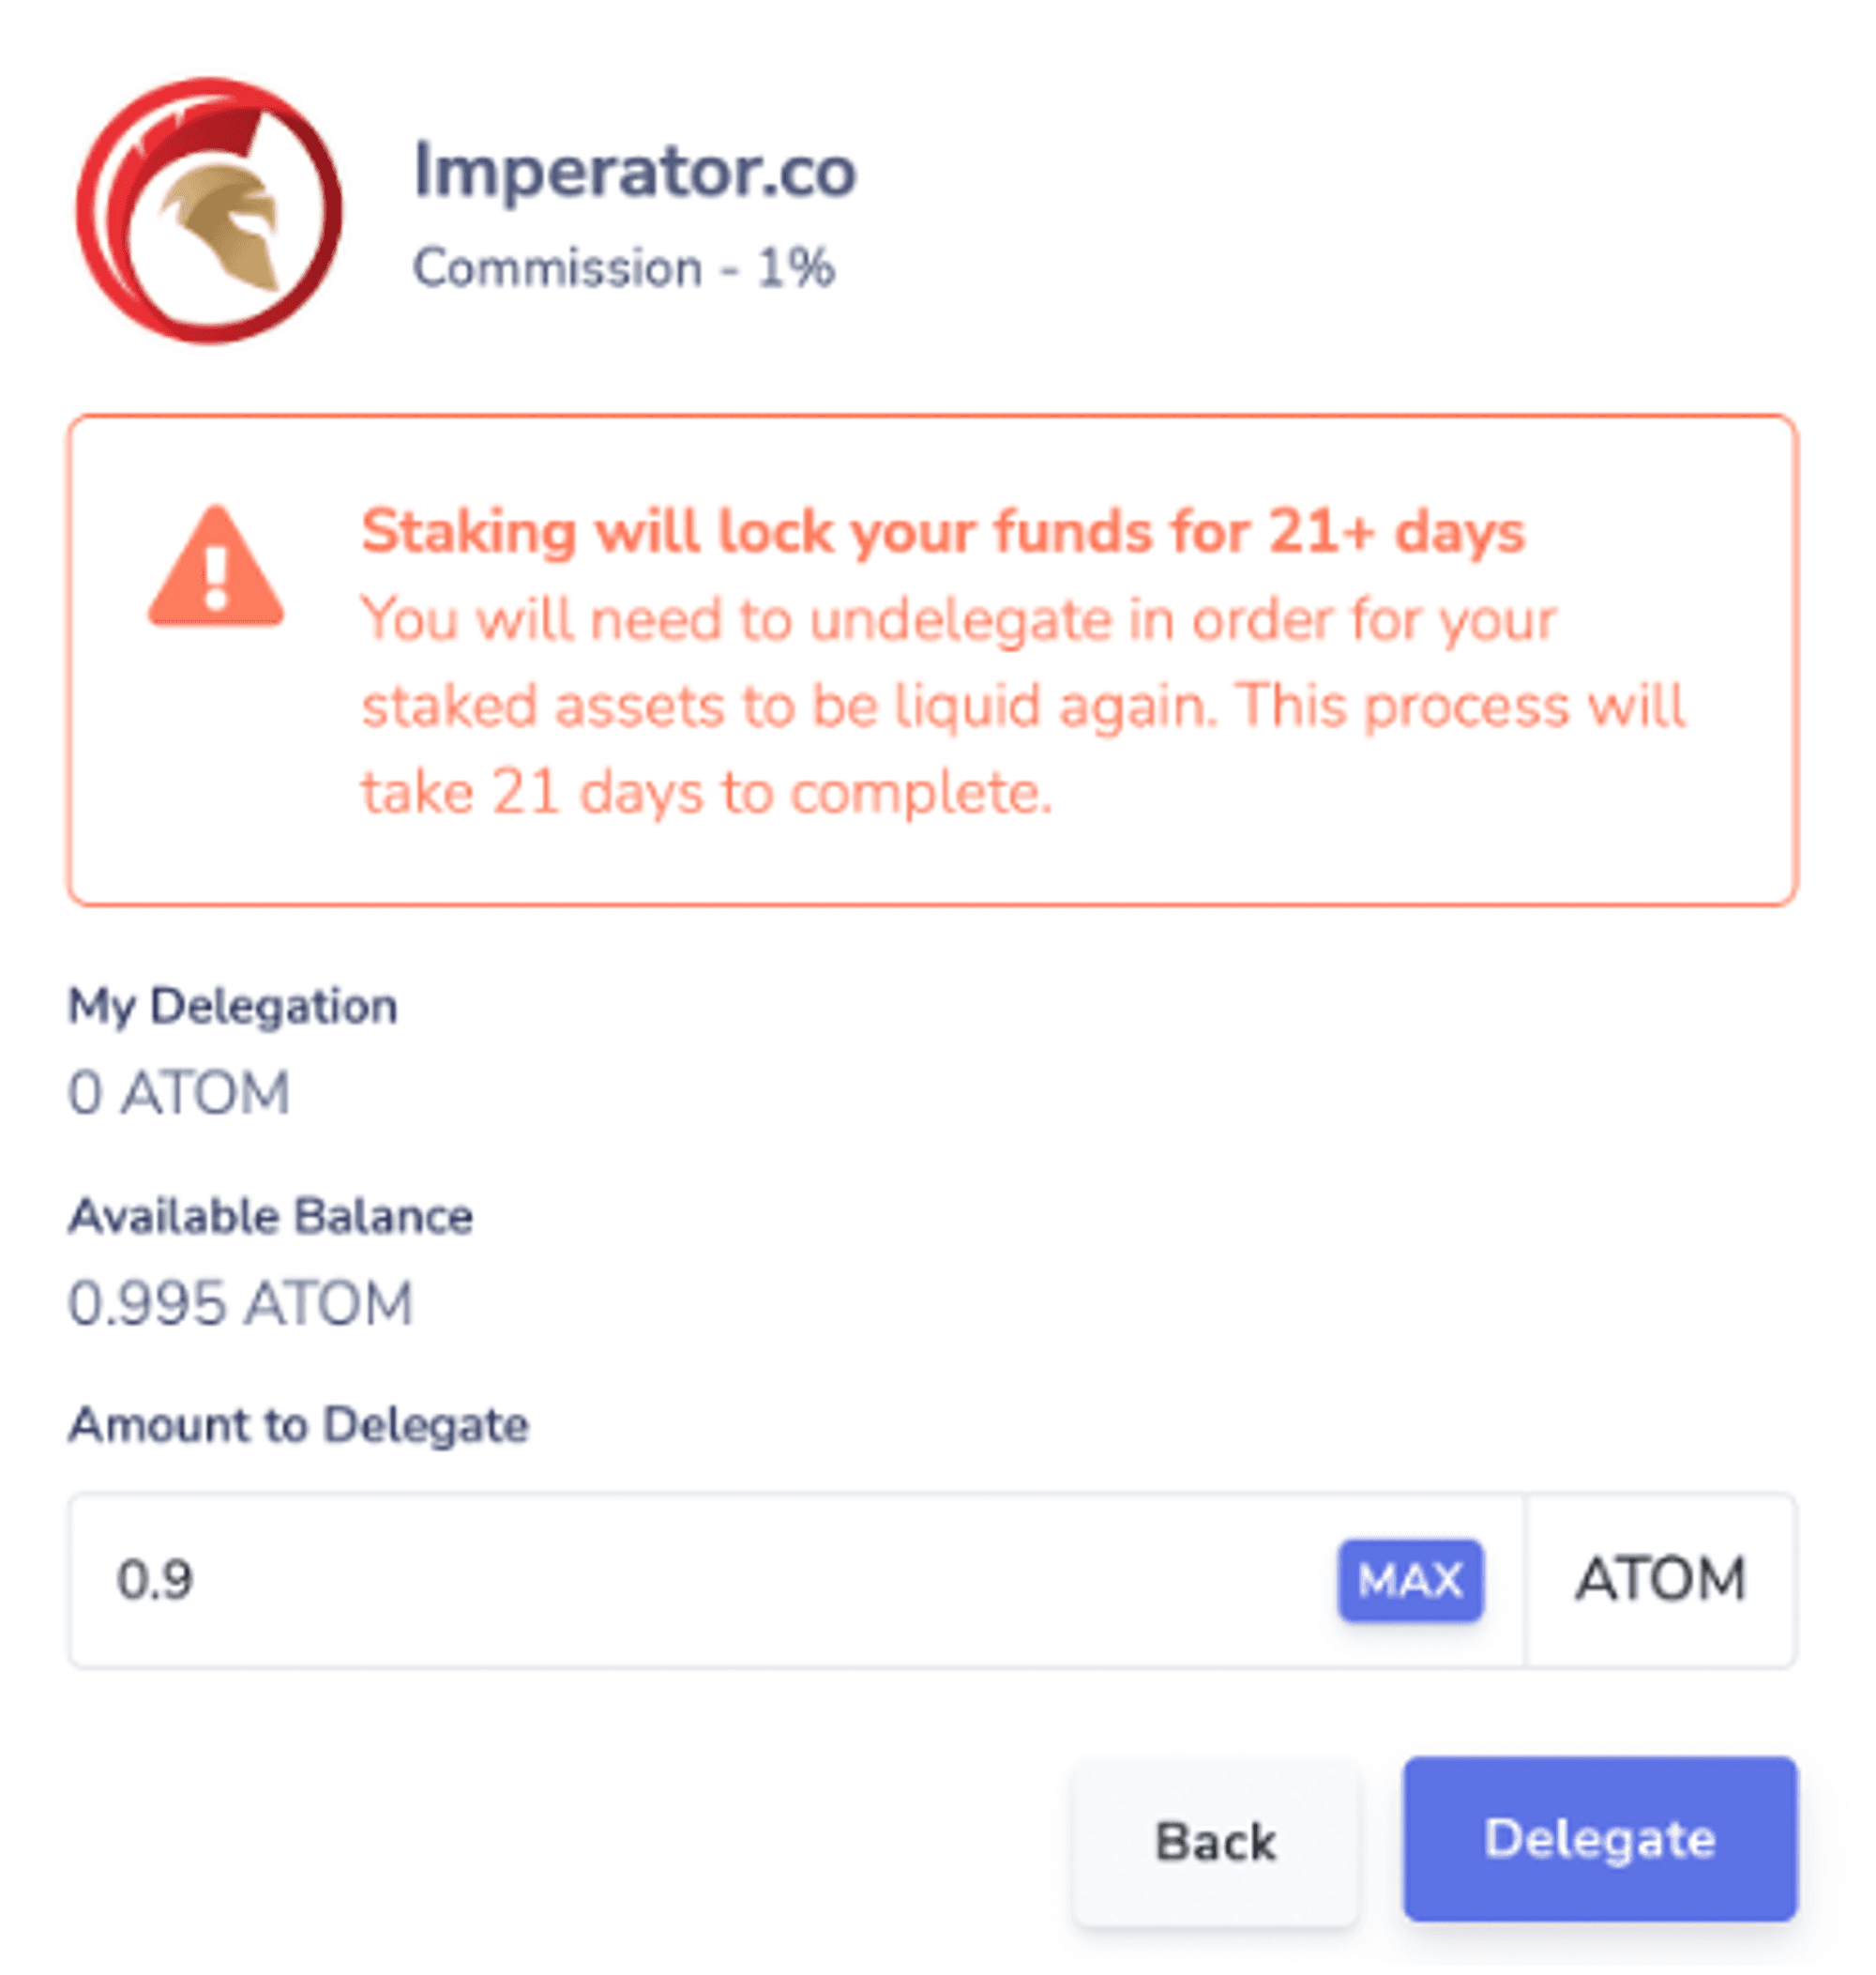
Put the amount you want to delegate and click on delegate
Choose the amount you want to delegate to us. Please take into account that the process to get your ATOM back takes 21 days. Be sure that you’re ok to lock your assets for at least 21 days before delegating.
After clicking on Delegate, you just have to Approve the transaction:
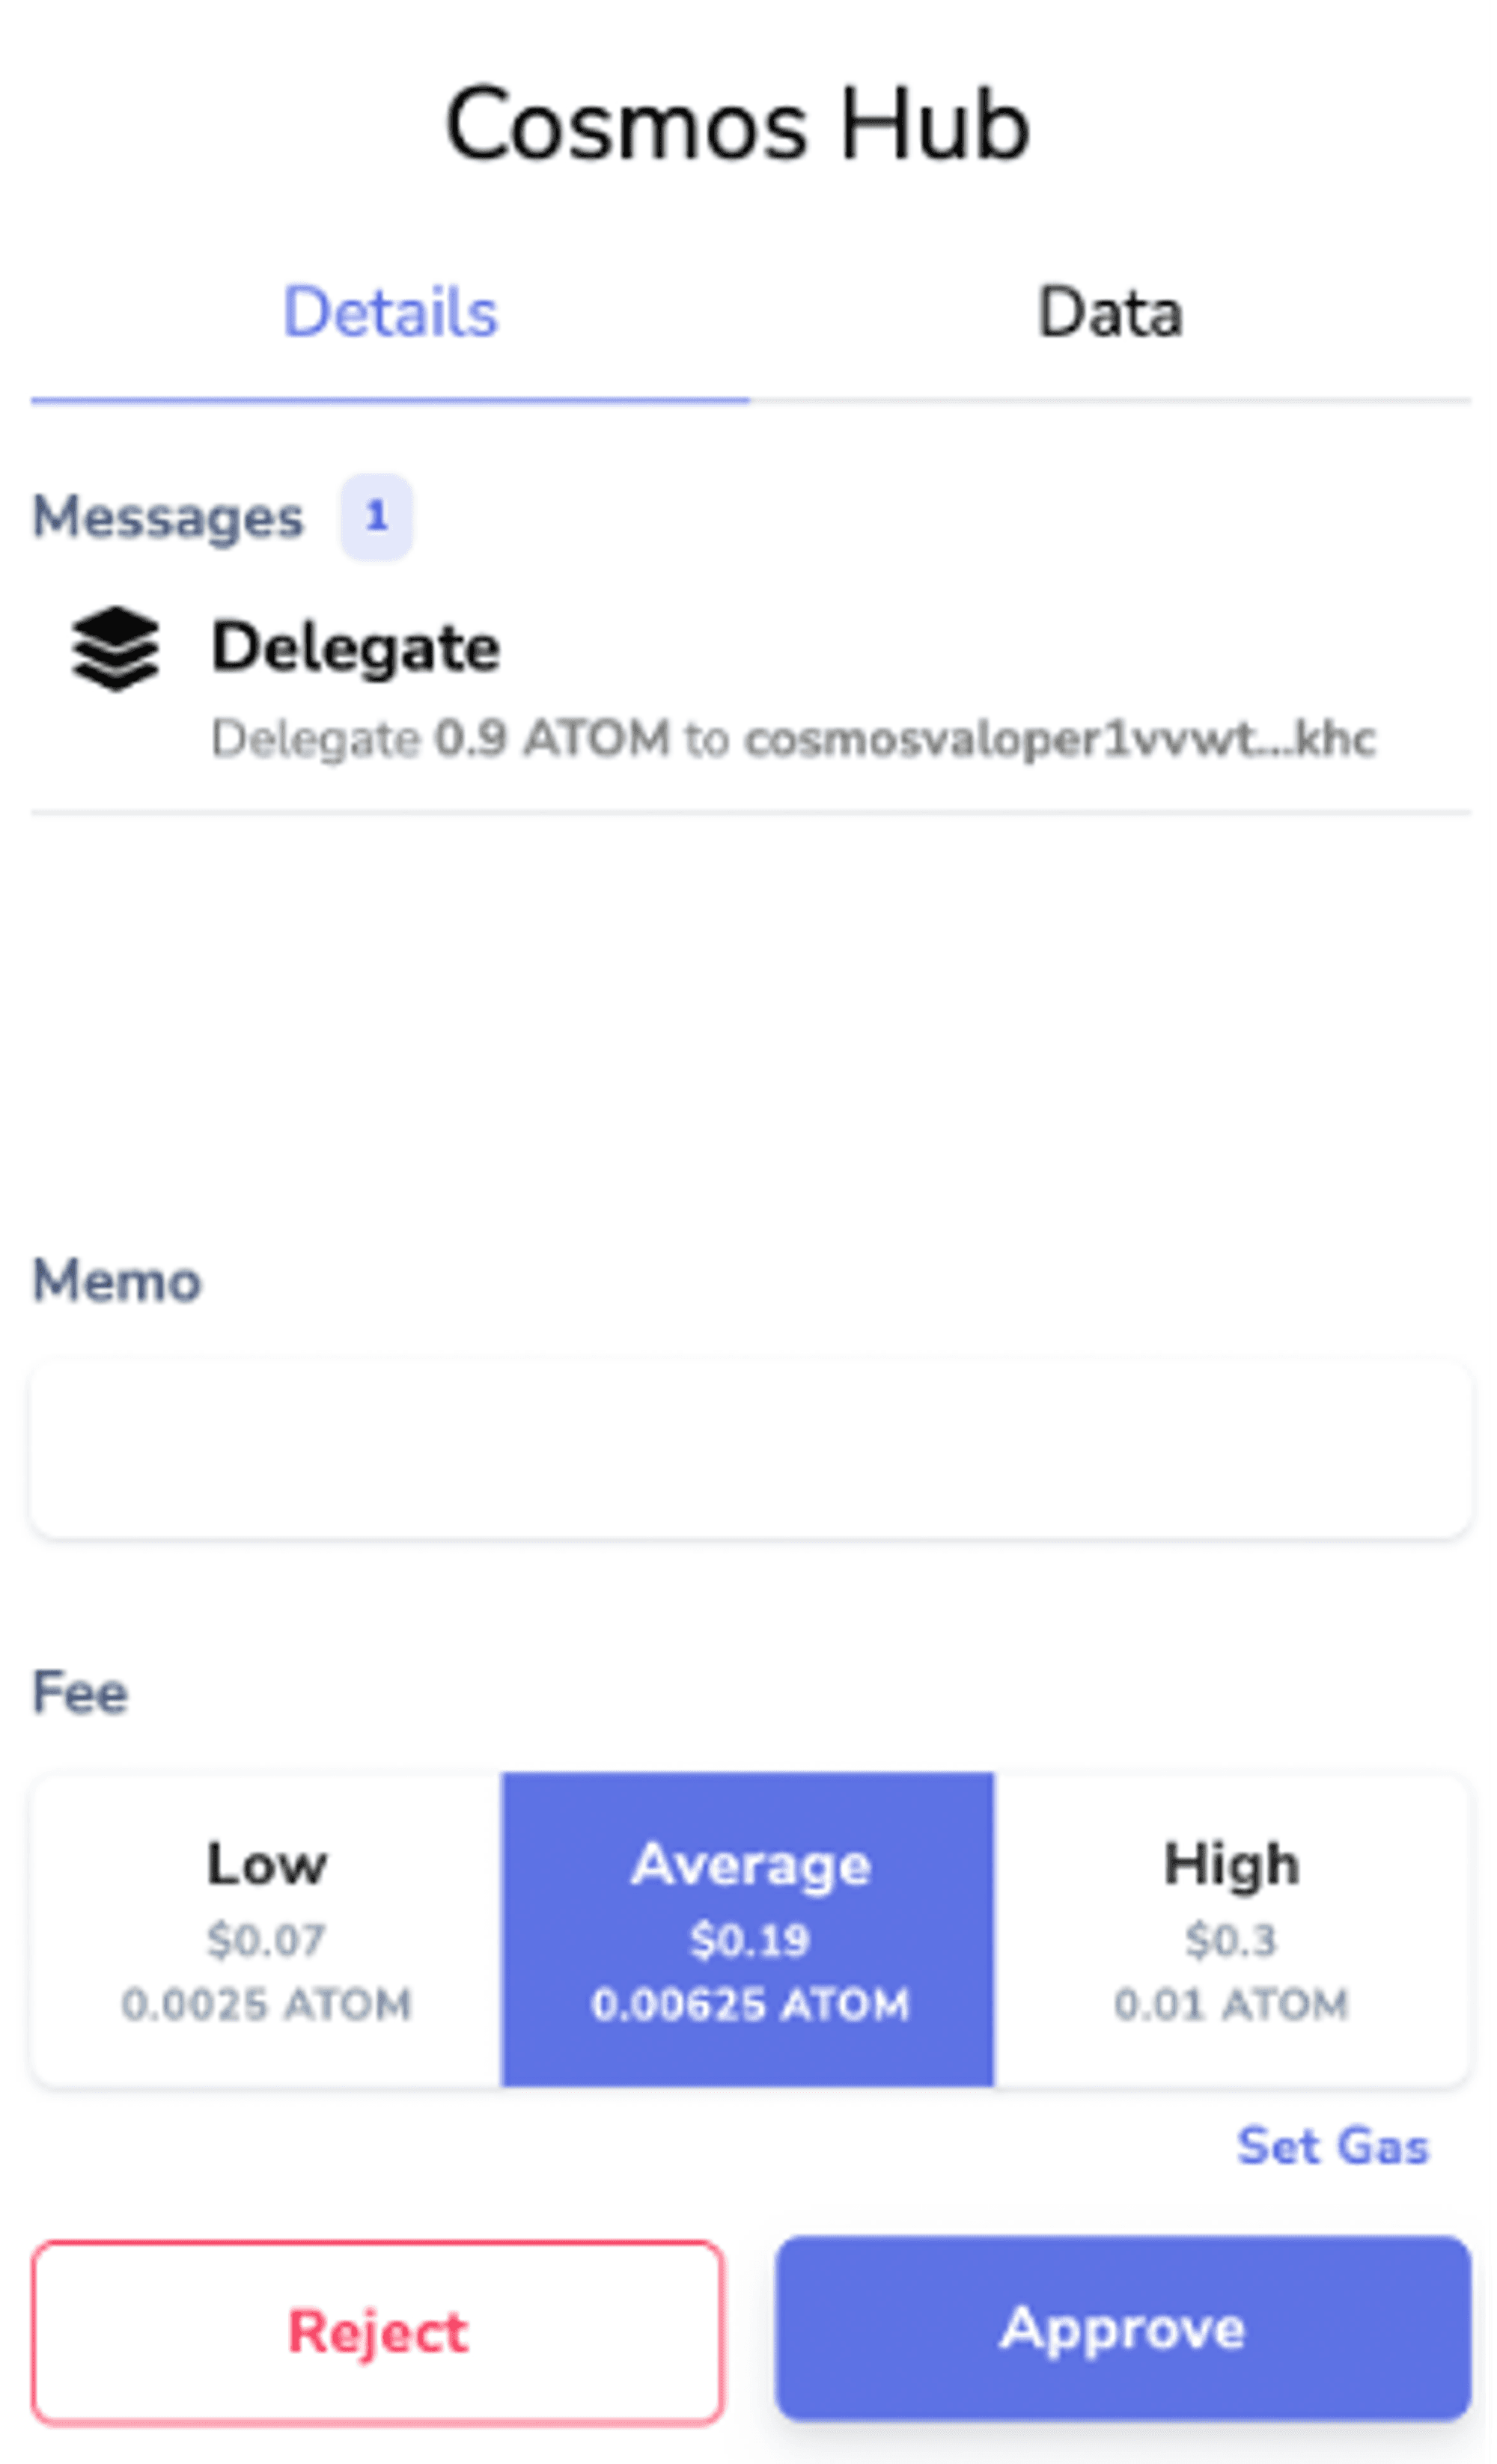
Approve the transaction
Well done, you’ve delegated your assets to Imperator.co! Thank you very much for your support 😀
By looking at your Keplr wallet again, you will see that there is a distinction between the staked amount and the amount available.
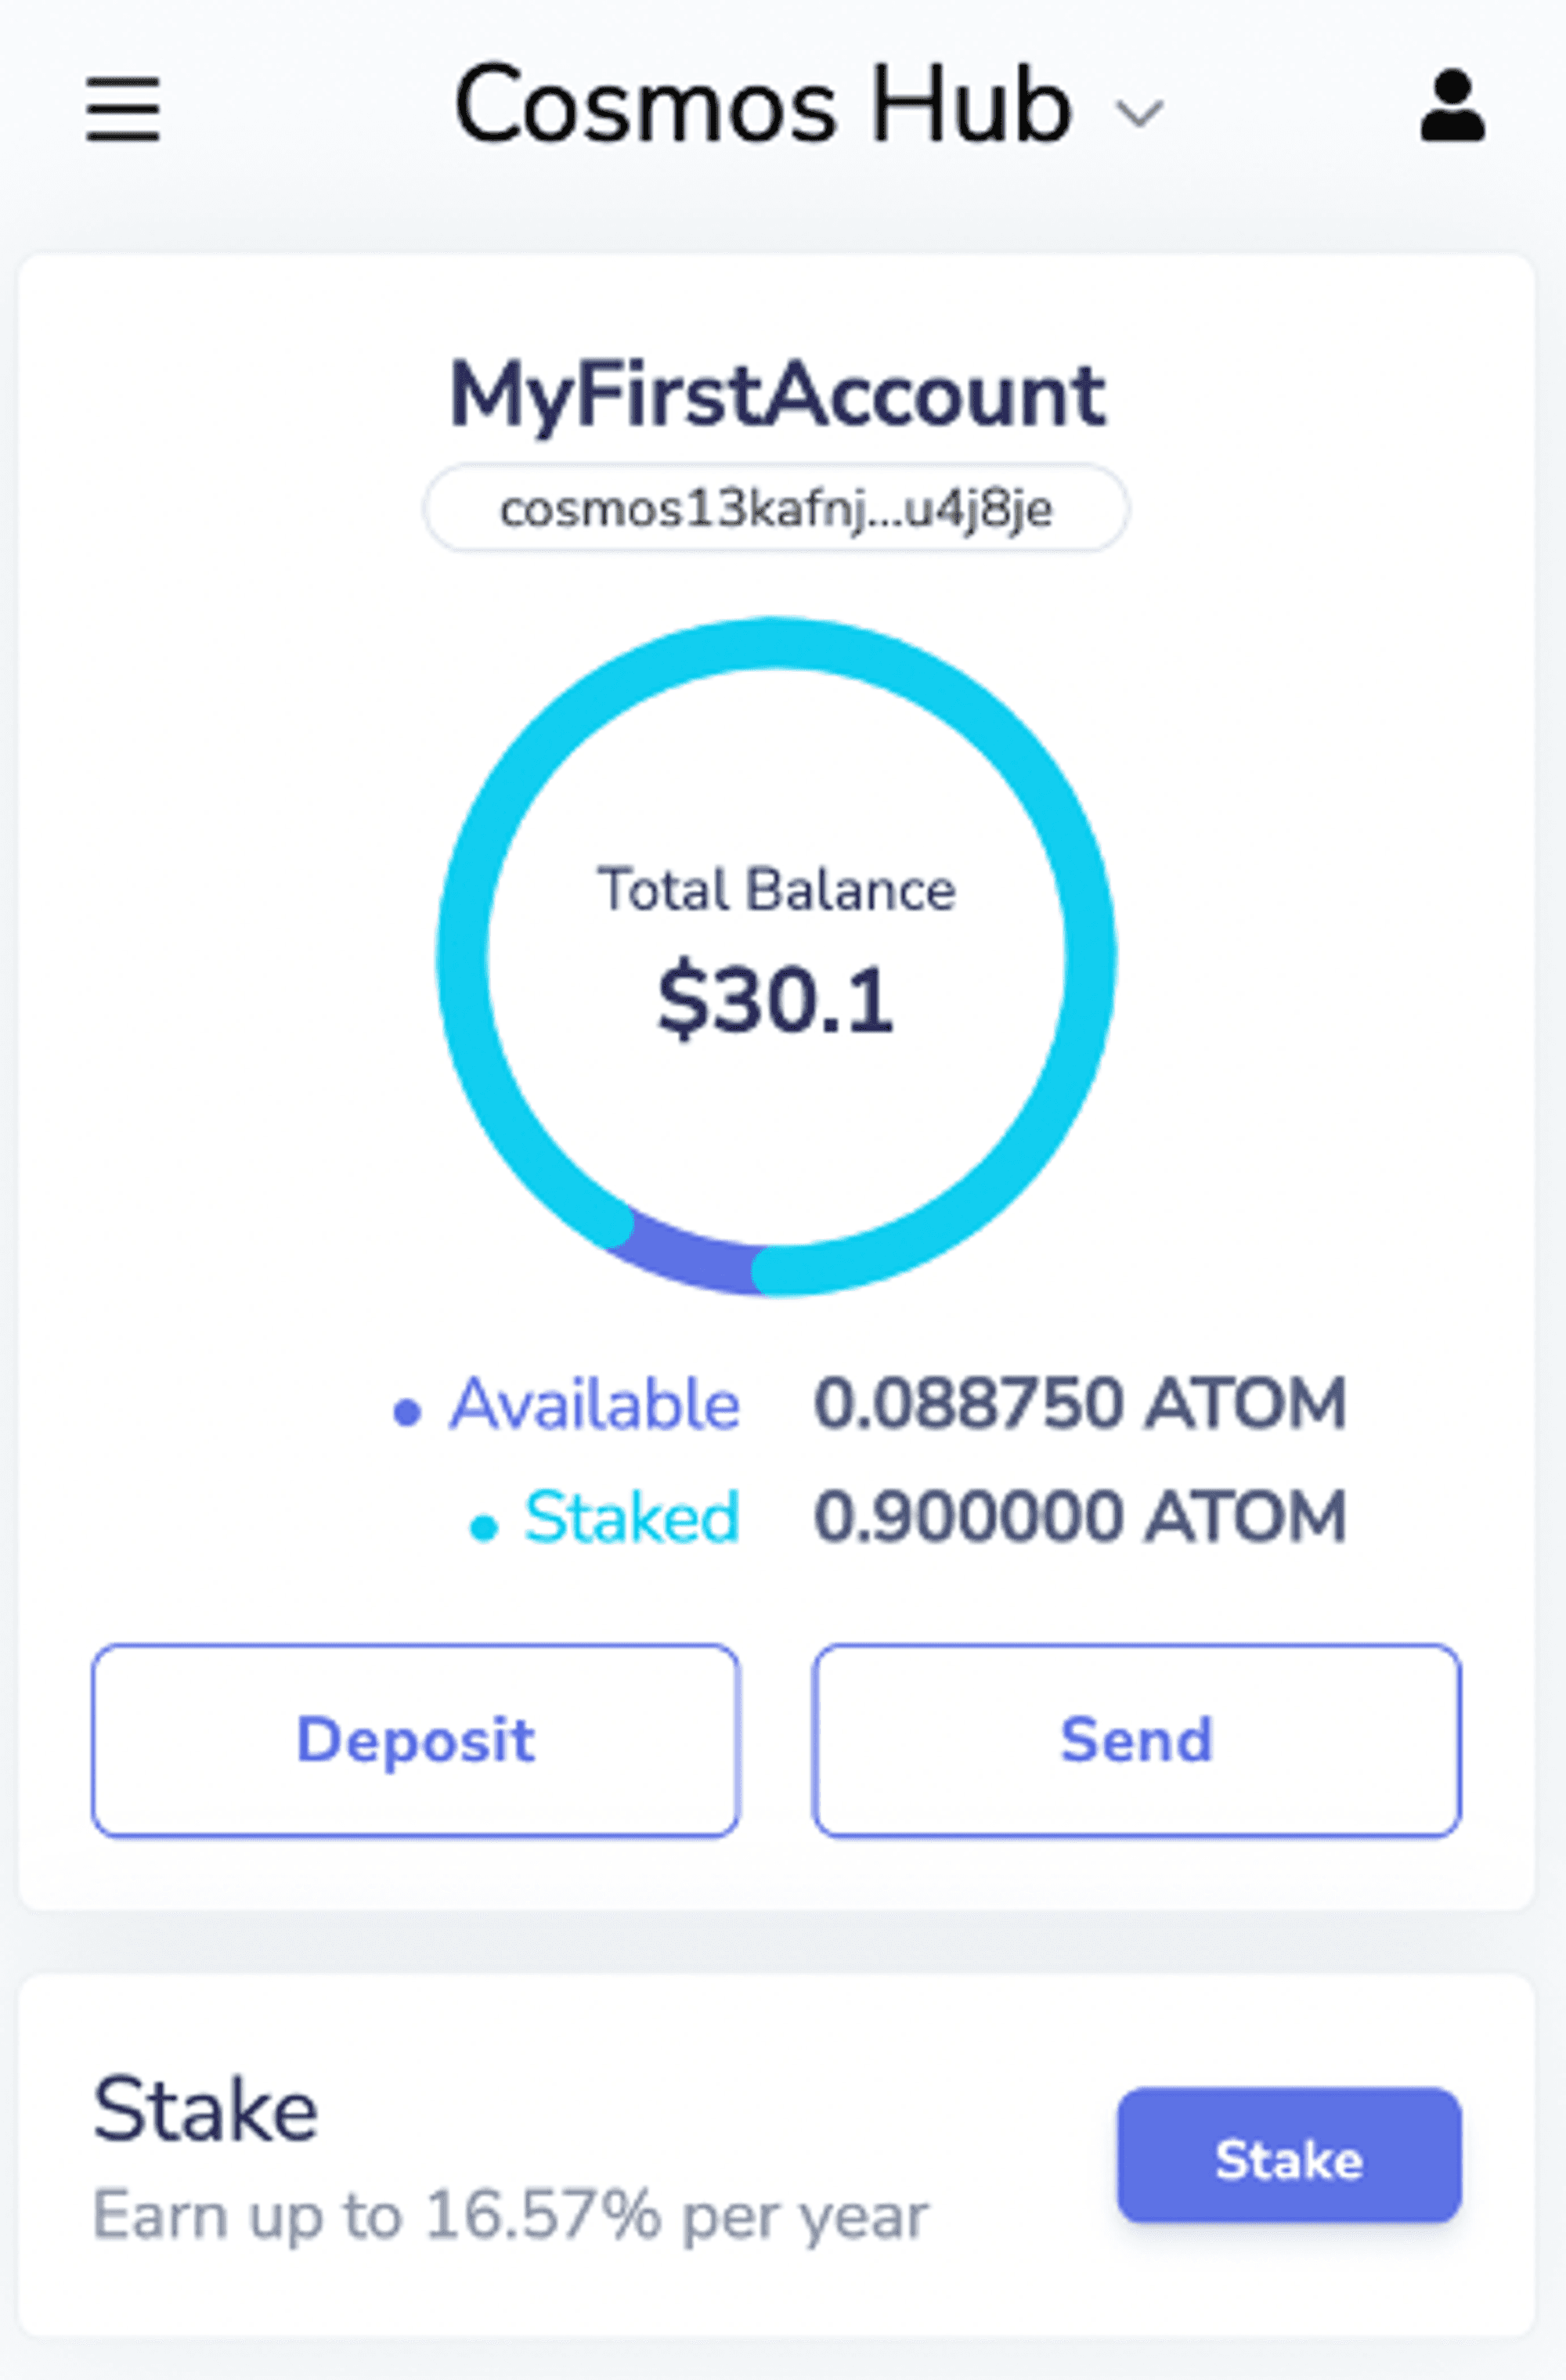
Distinction staked amount / amount available.
If you click on the Stake button again, you will see the validator to whom you have delegated your amount at the top of the web page, with the pending rewards:

Amount Staked & Pending Reward
Step 4: You want to undelegate and get your tokens back
If you want to undelegate, you just have to:
On your Keplr wallet, click on the Stake button again
You will see the list of all validators with the one you’ve delegated to at the top (ex: Imperator.co), click on the manage button:

Manage button
This new window will appear:
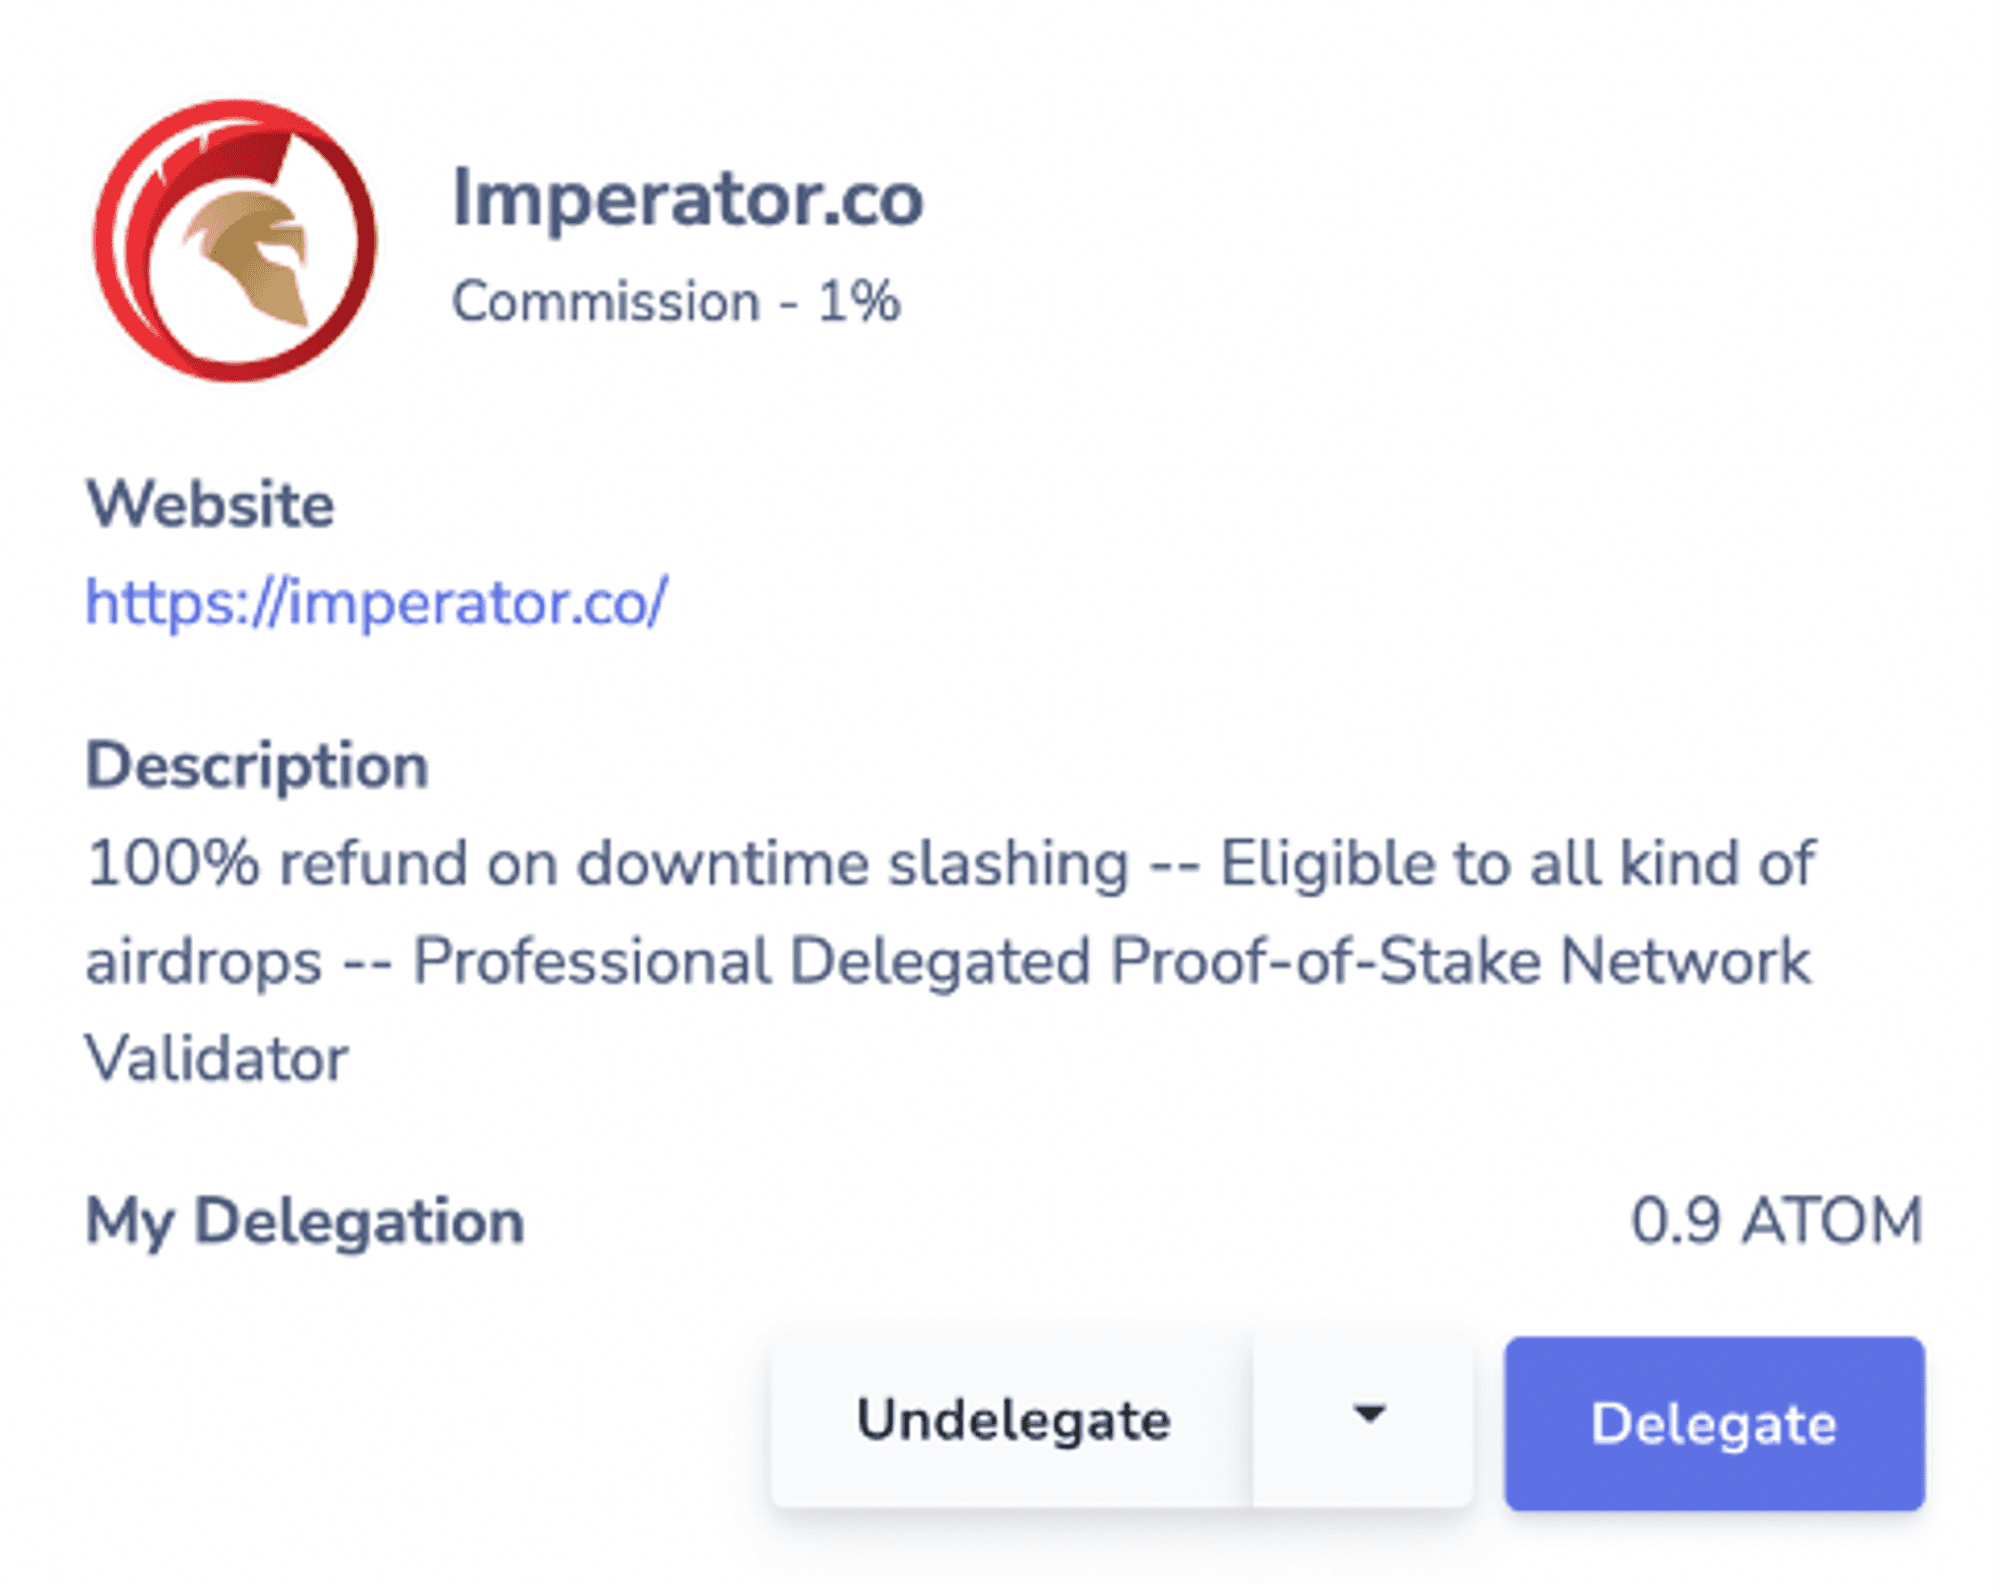
Undelegation
Click on Undelegate and choose the amount you want to undelegate:
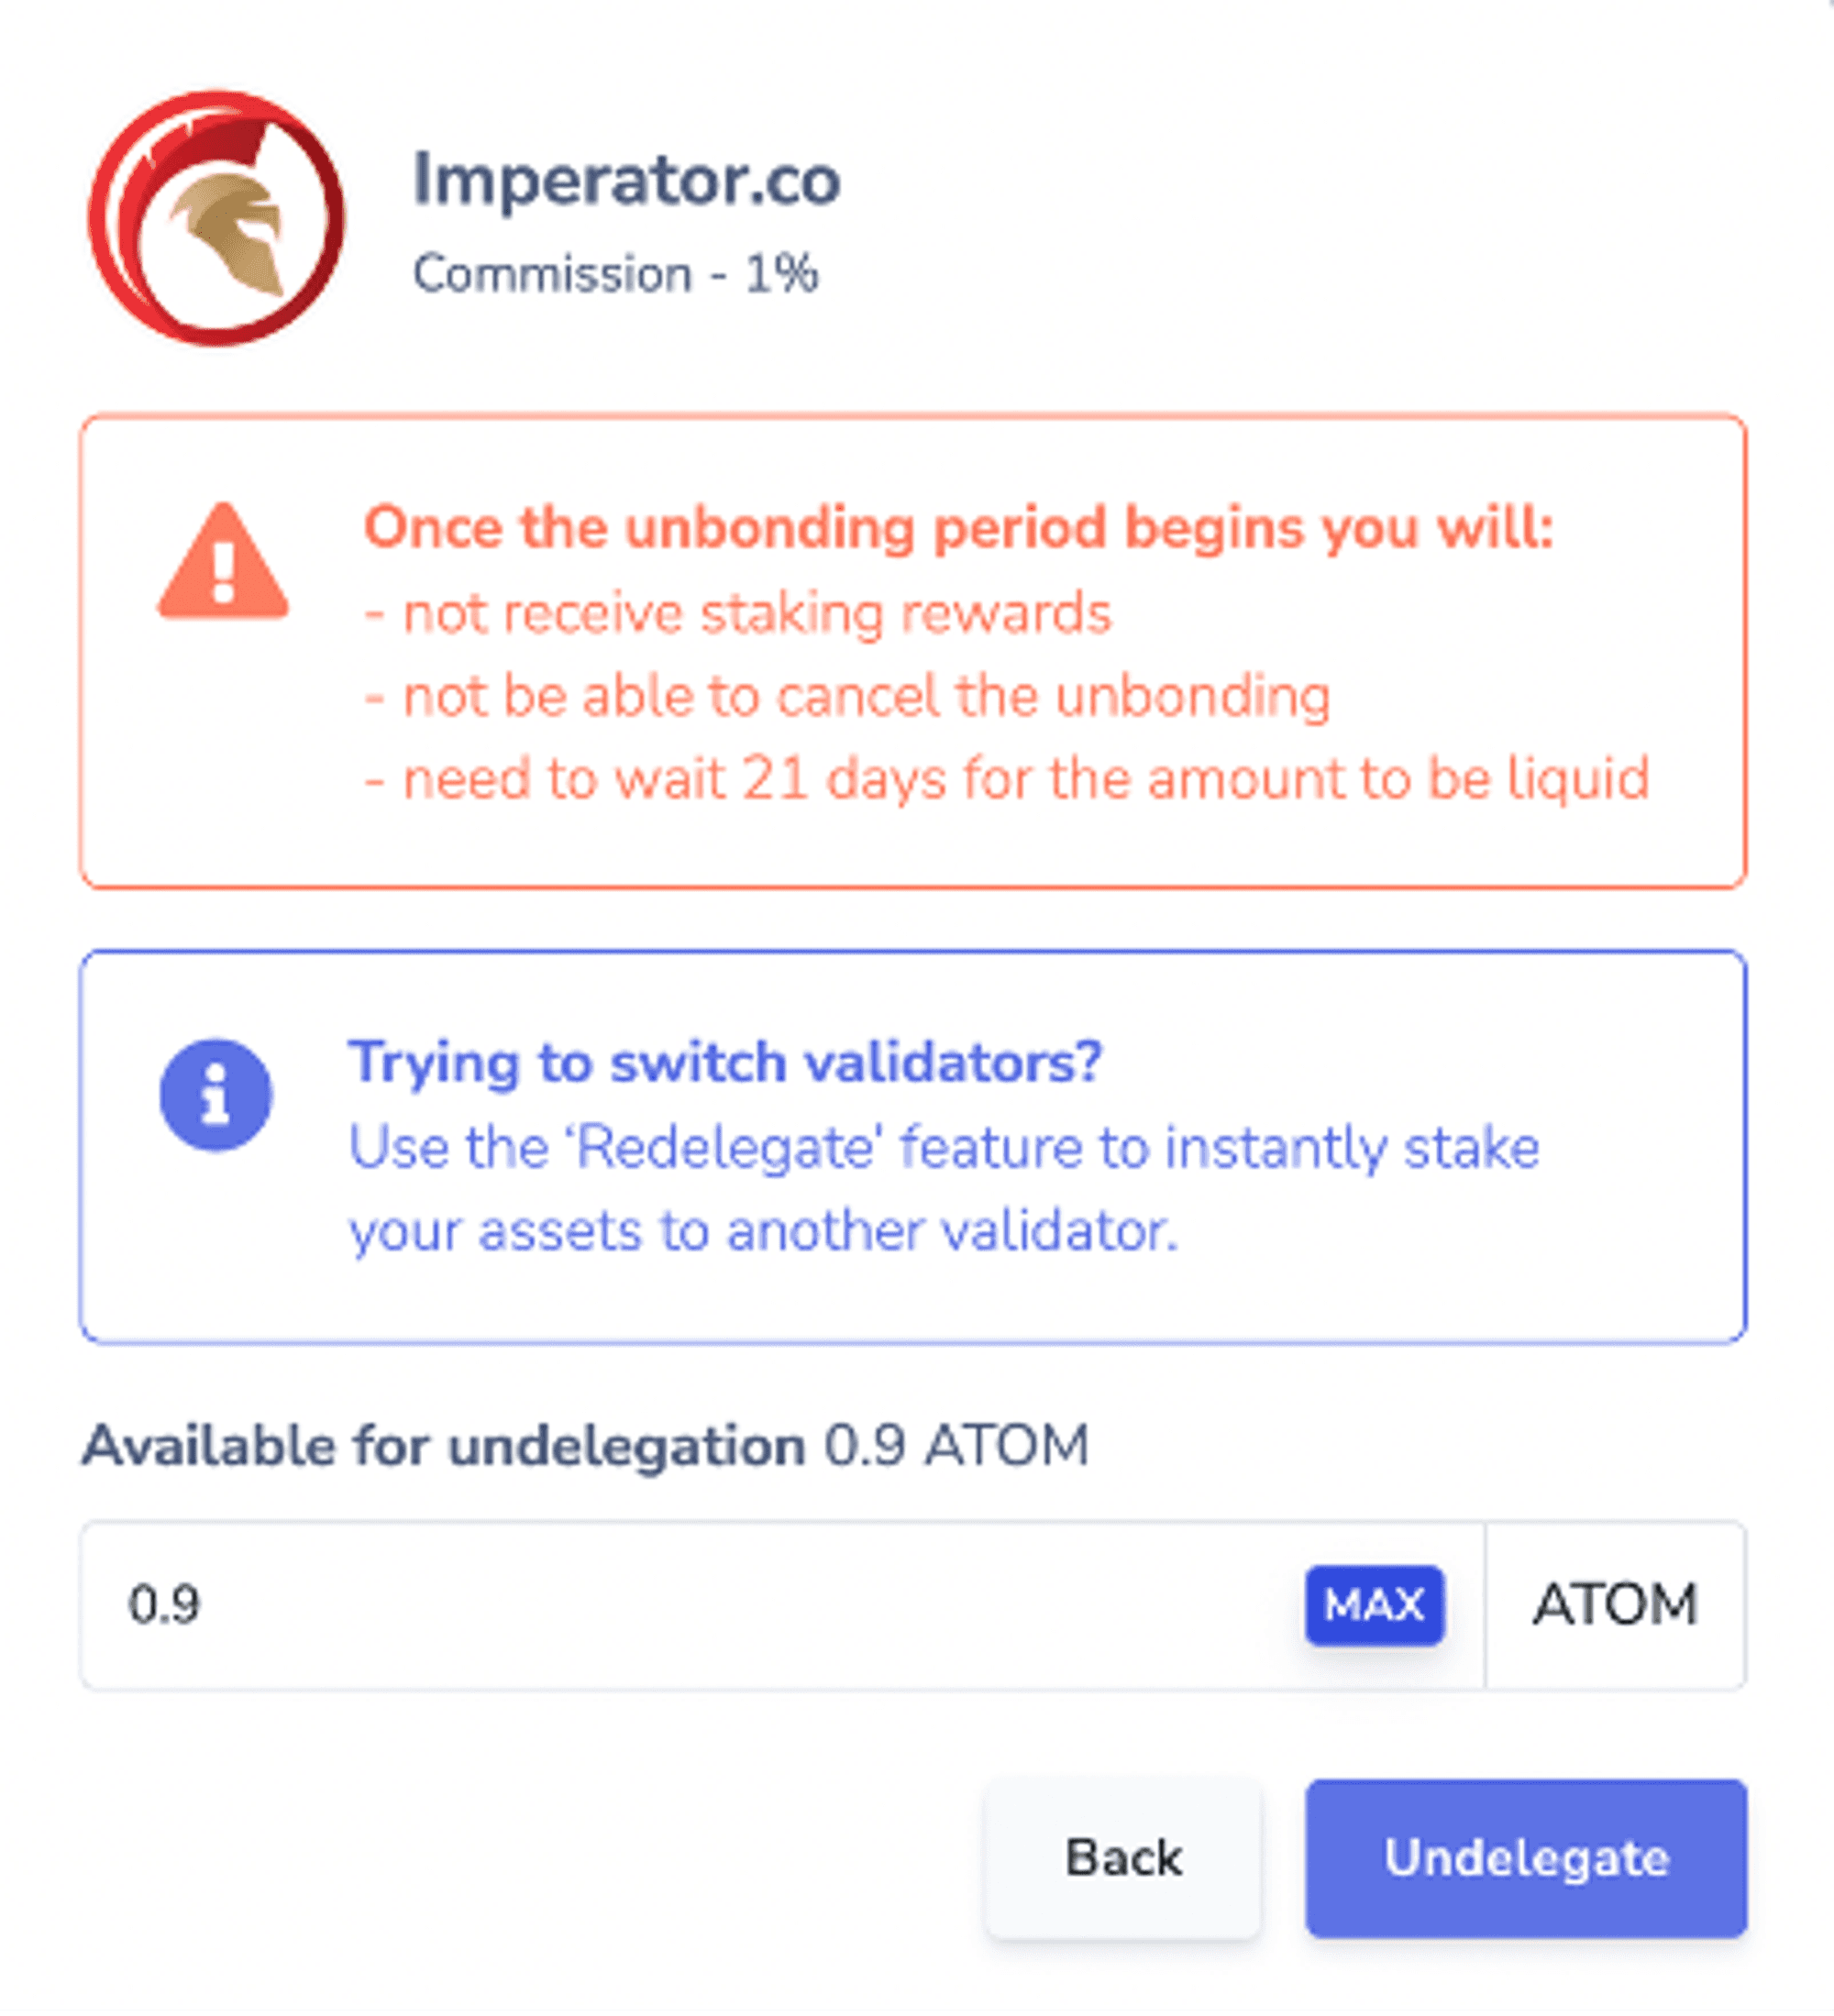
Choose the amount you want to undelegate and click on undelegate
And press Undelegate again. Now you just have to wait 21 days to get your tokens back.
🛡️ Bonus: Use Keplr wallet with your Ledger
For Step 2, instead of going in Create new account, click on Import ledger
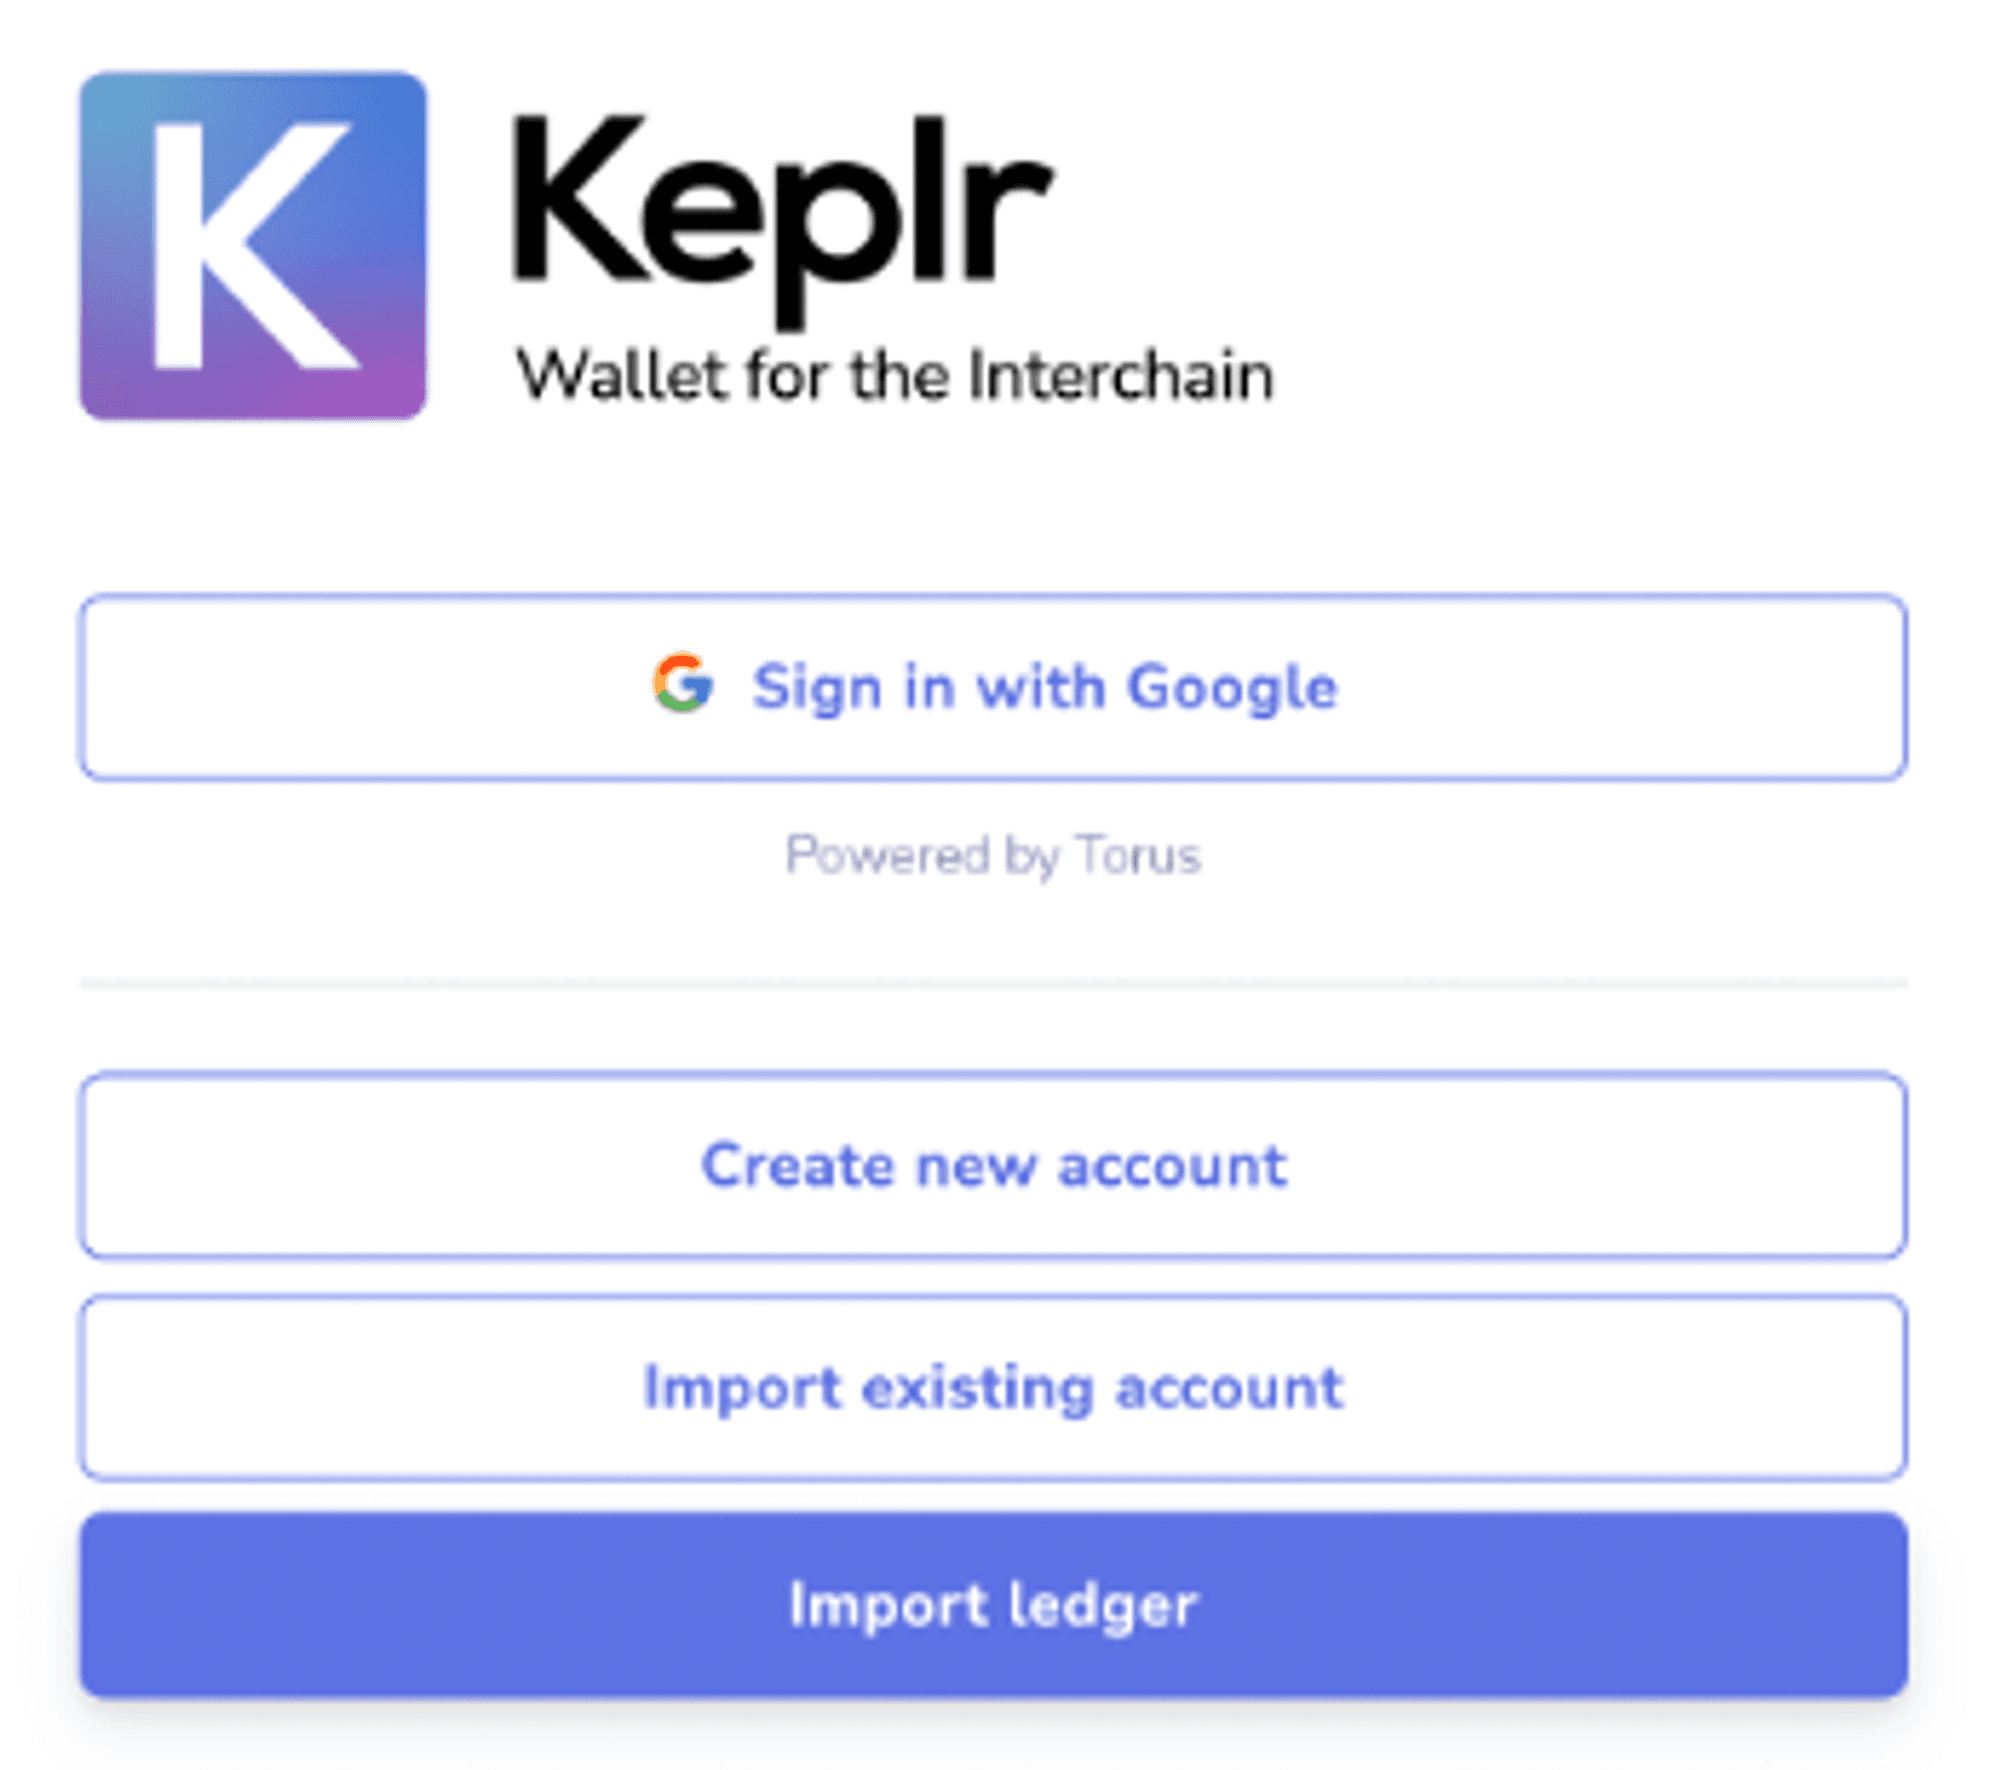
Import ledger
Choose a name for your Ledger account
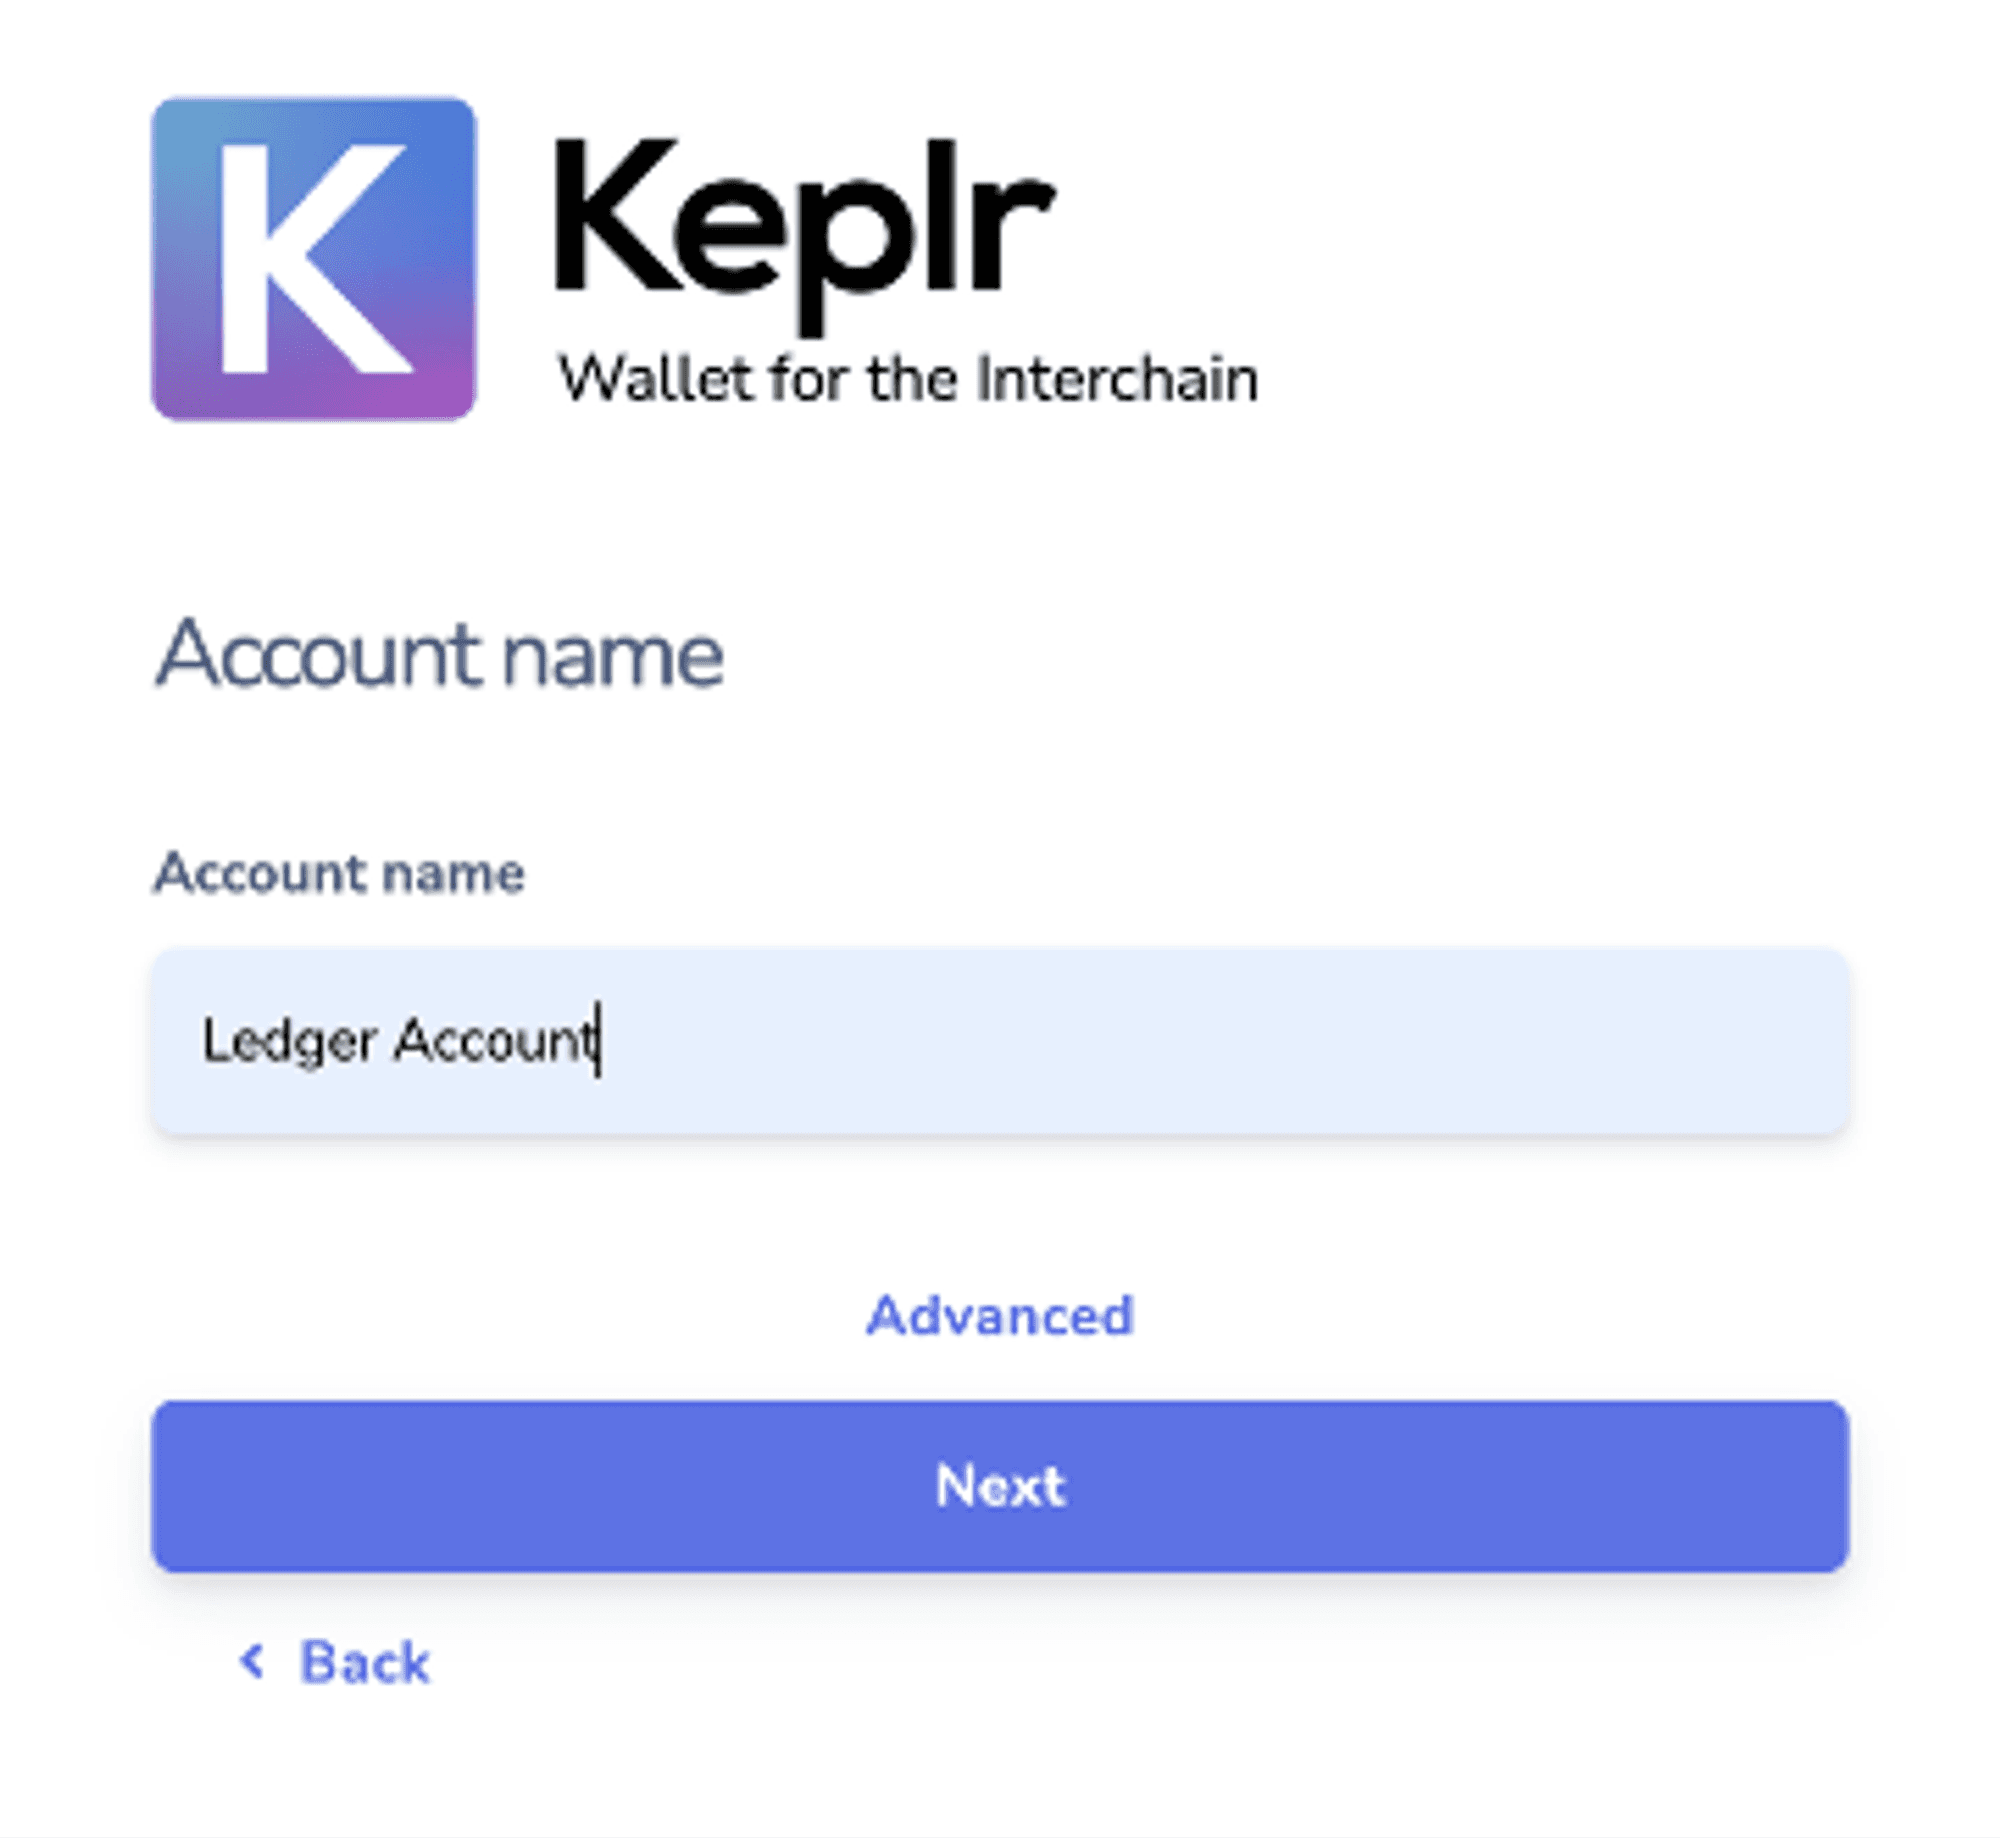
Choose your account name
Click Next
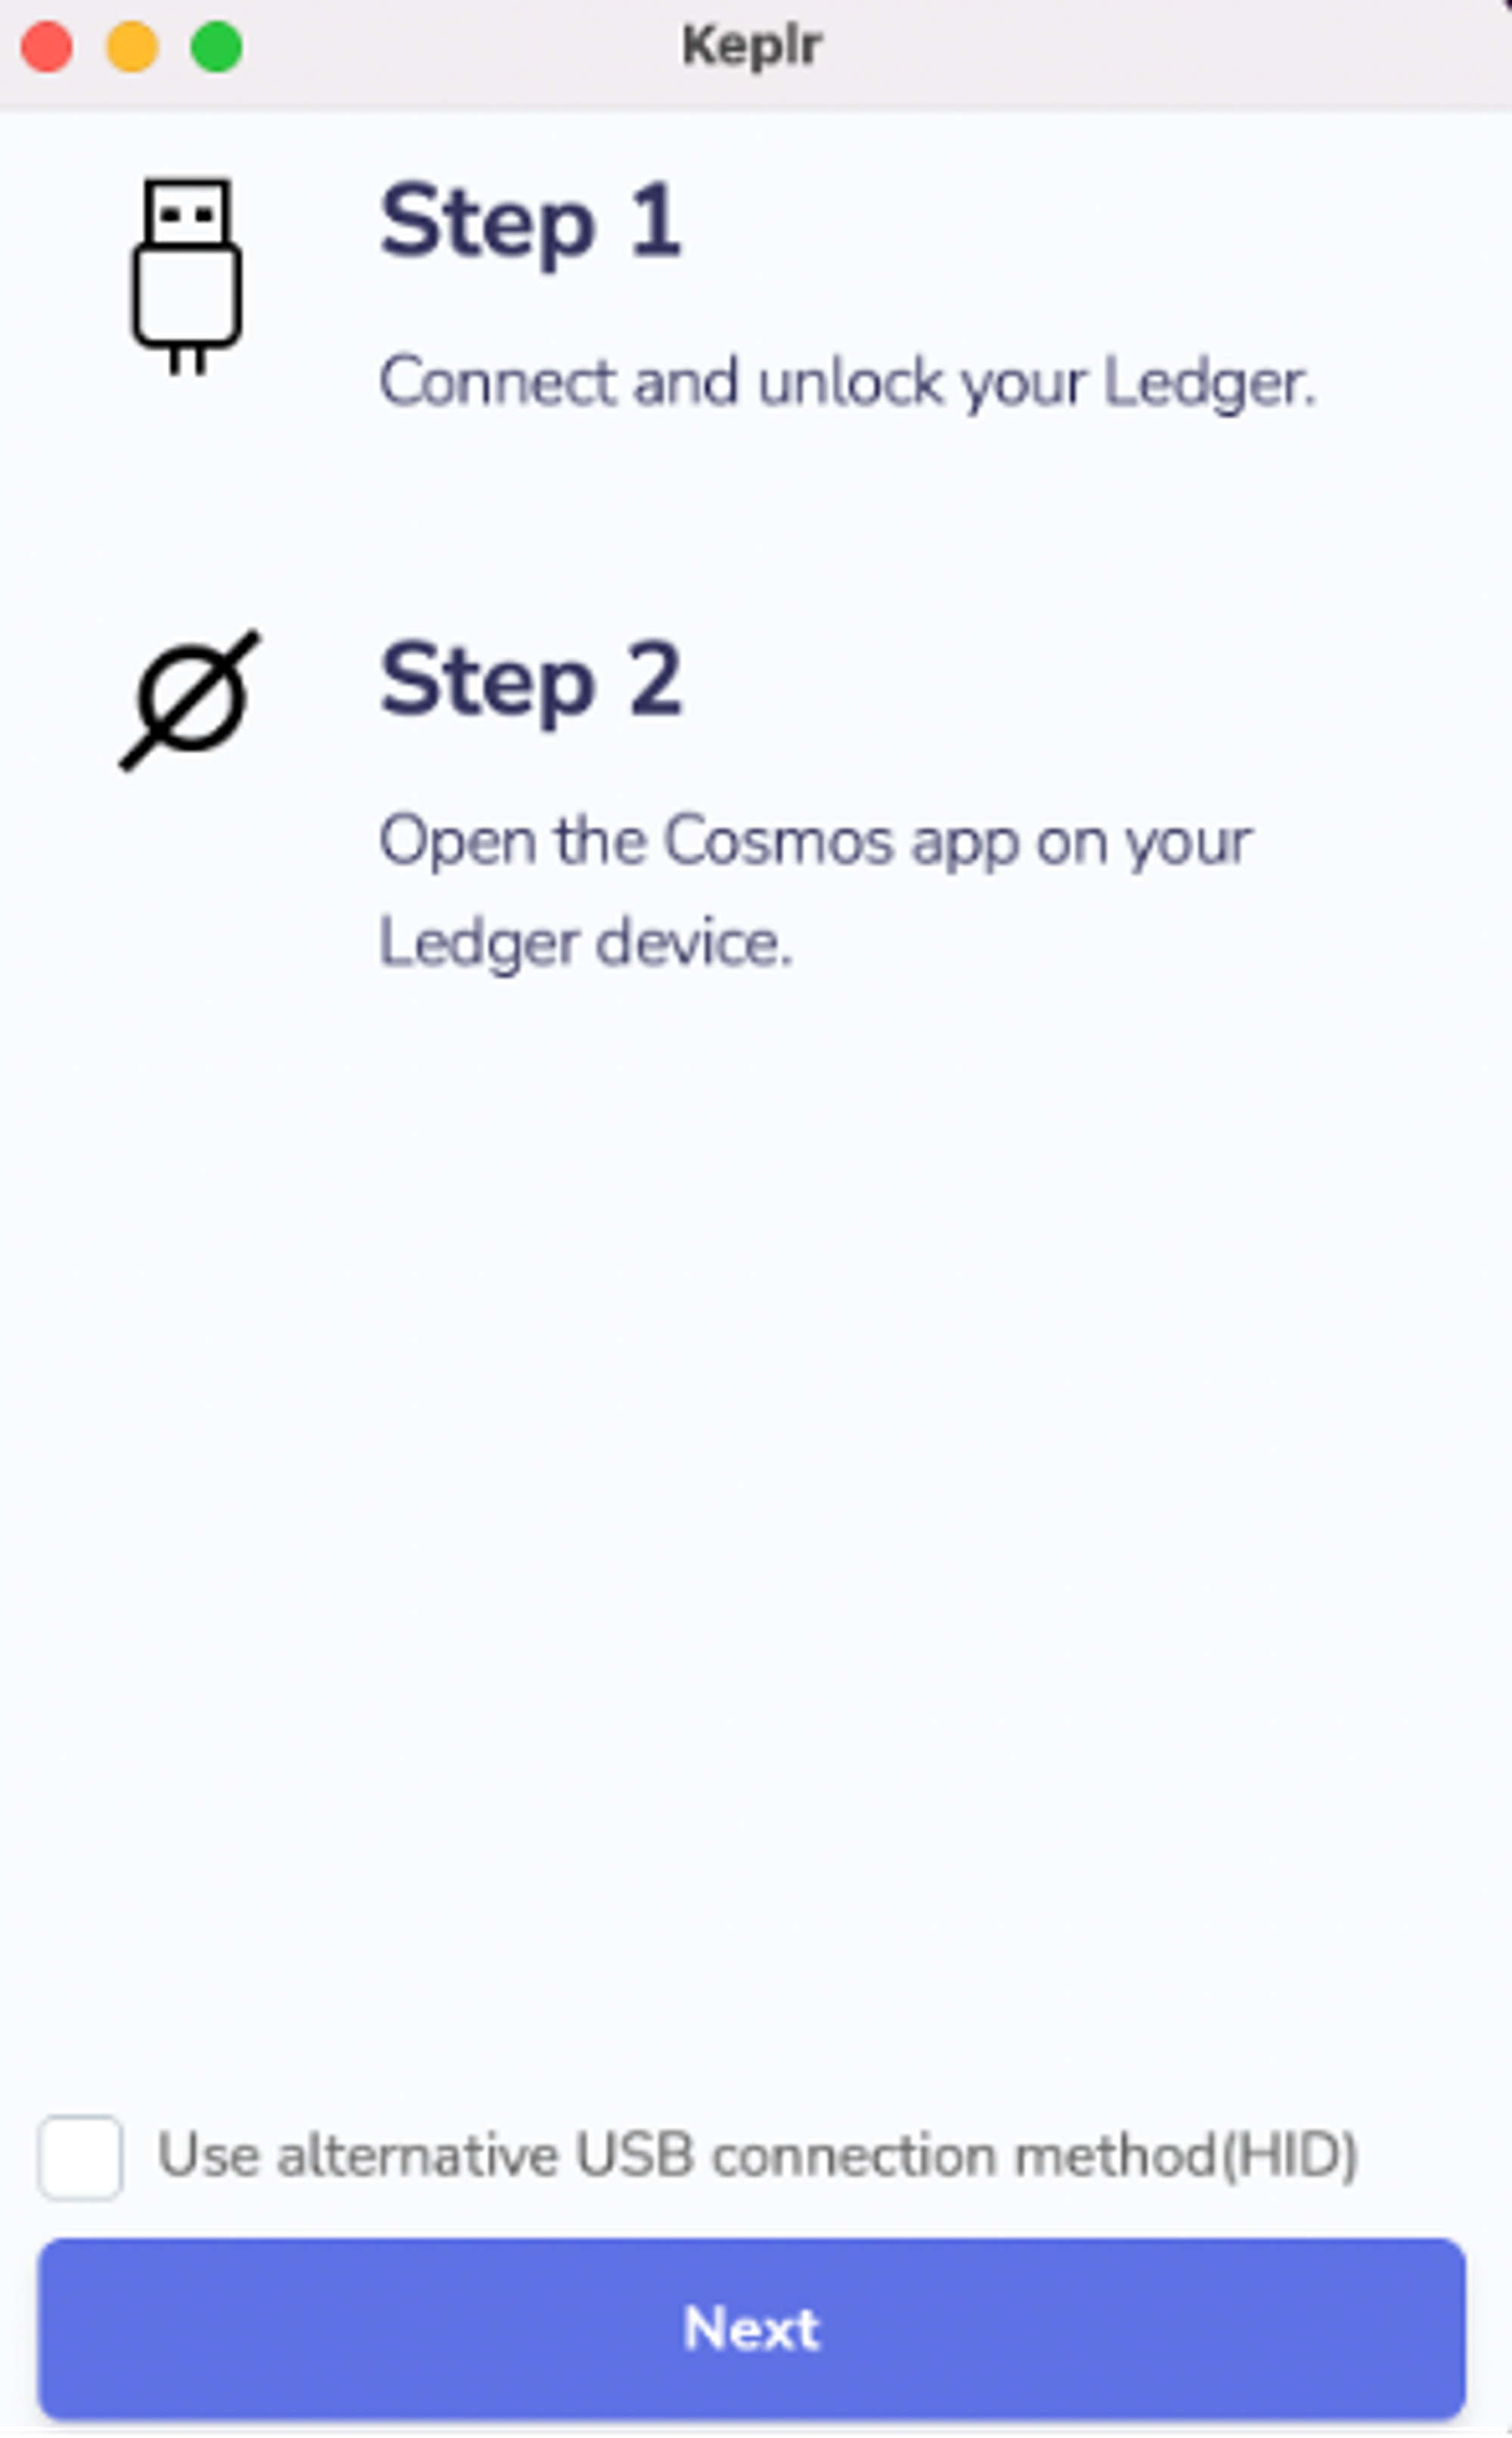
Connect your device on your computer + open the Cosmos app
Connect your Ledger to your computer and go on the Cosmos app on your device. Then click Next again:
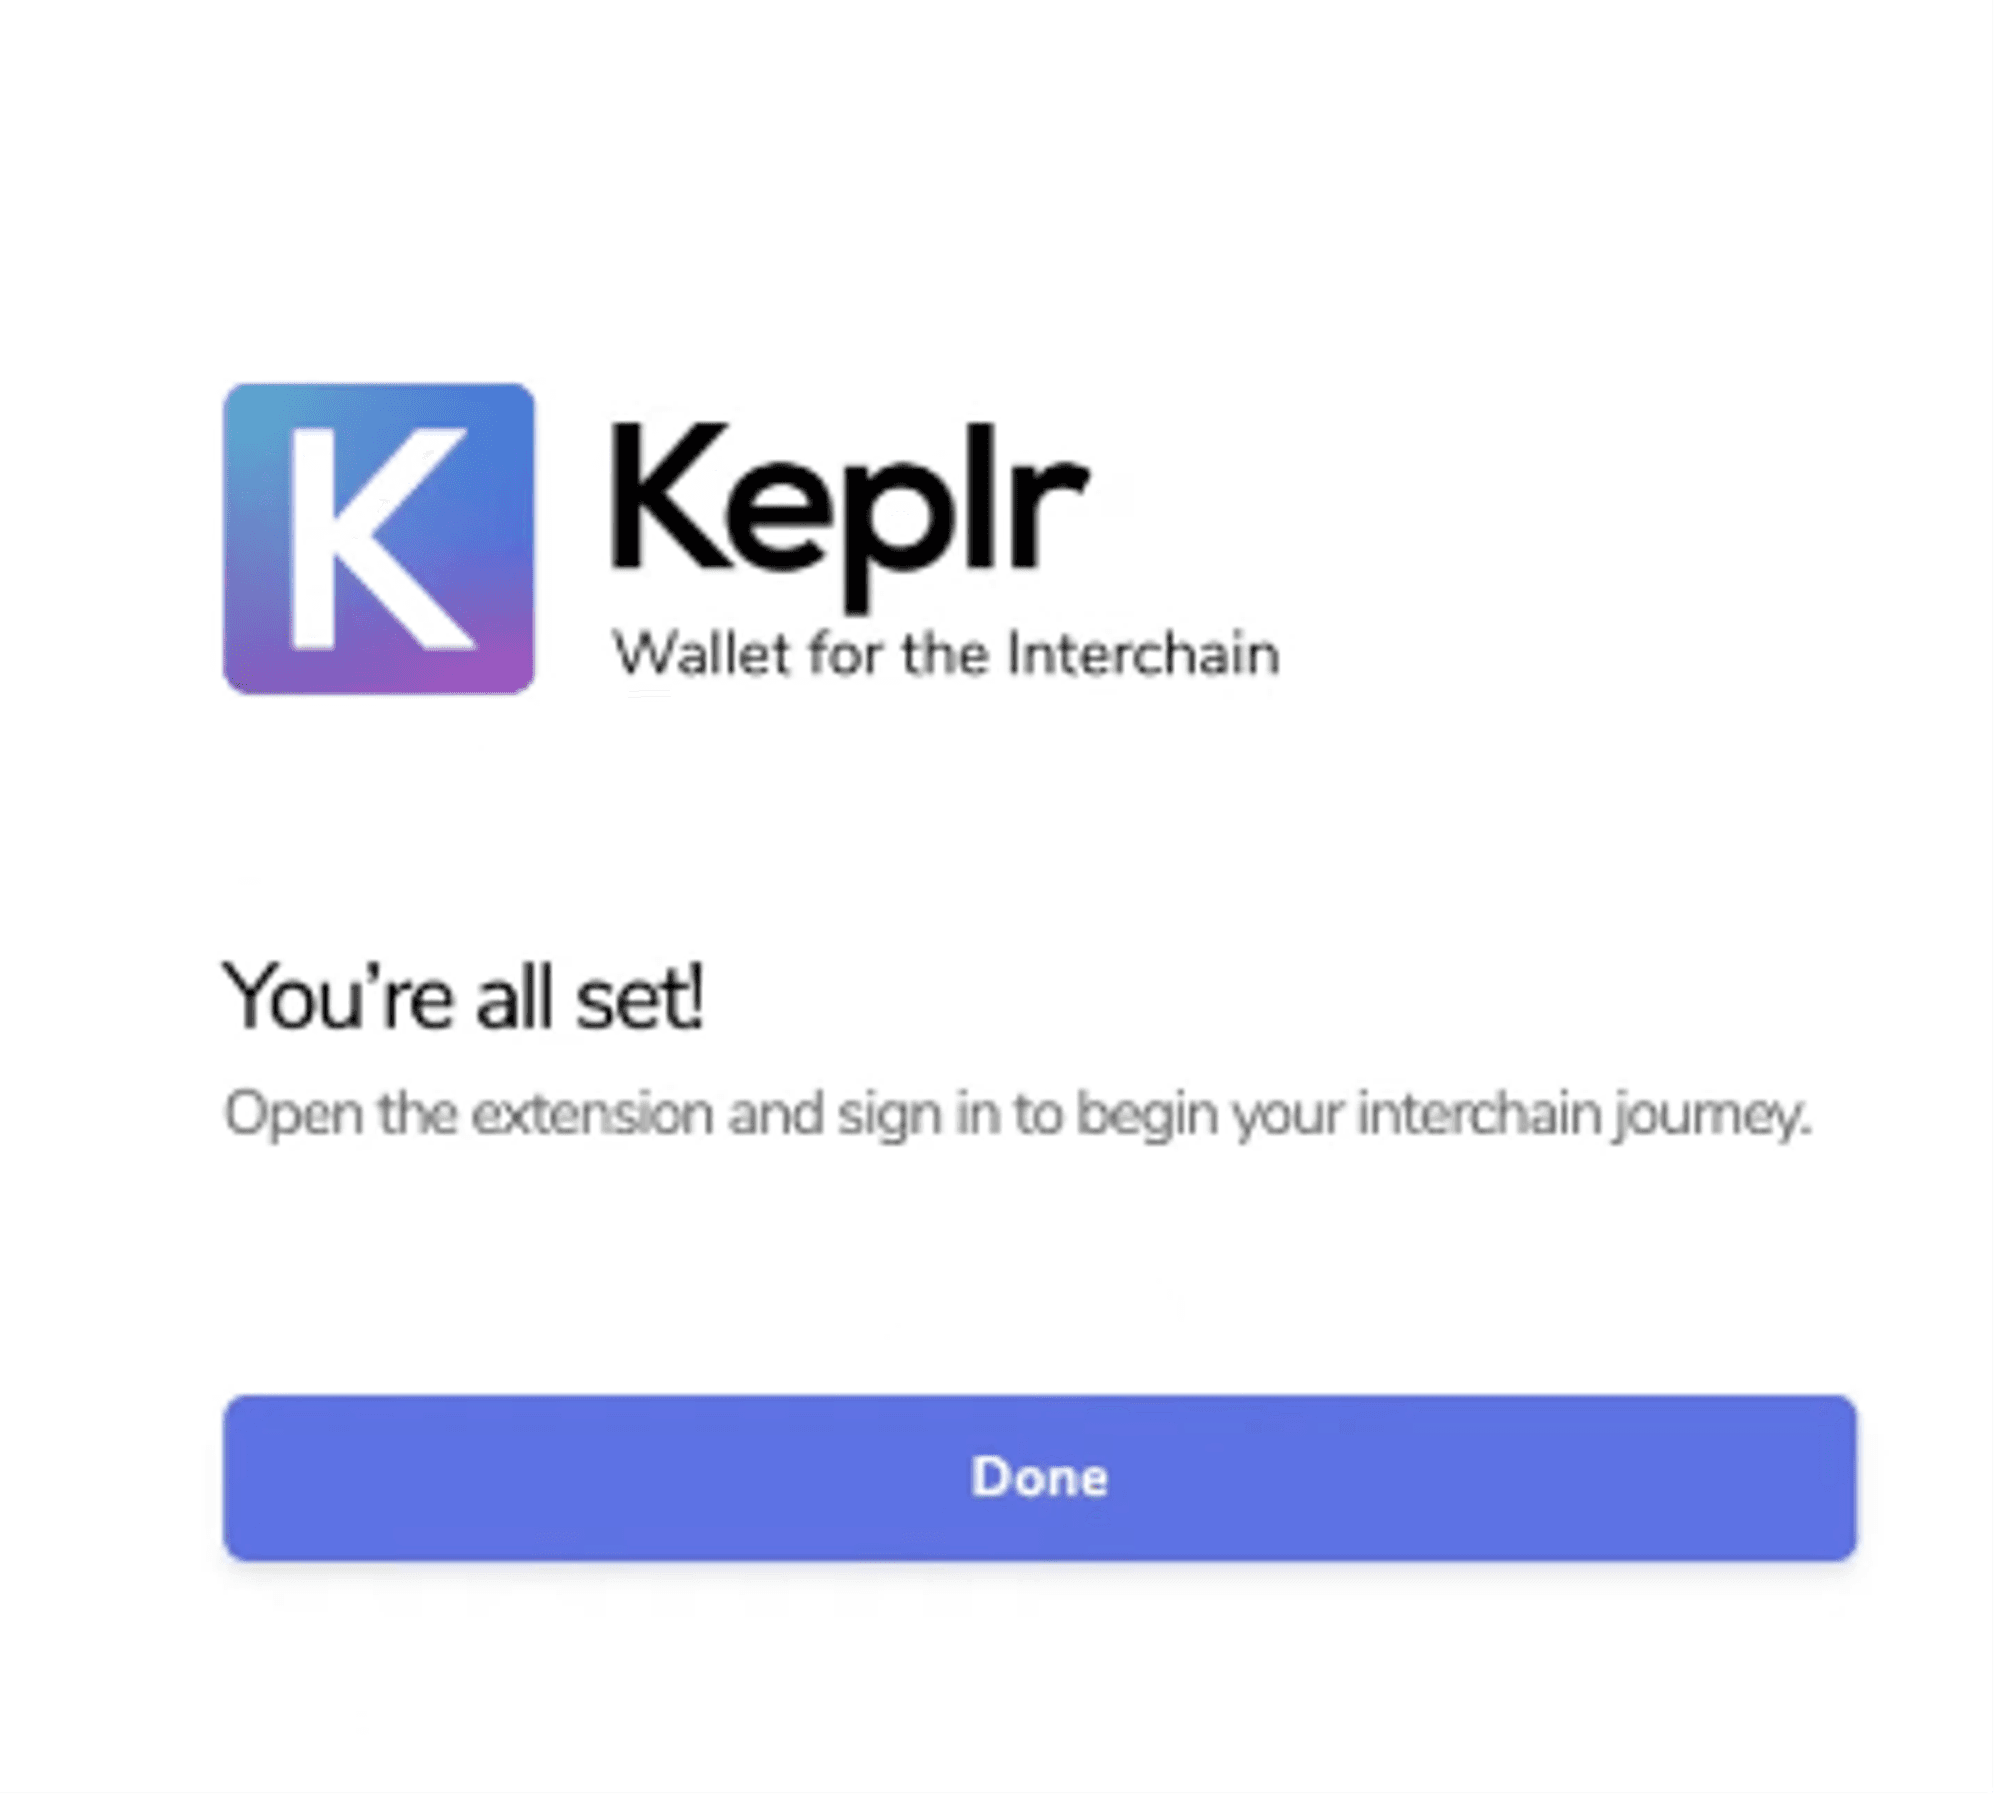
All set!
Your Ledger is ready! You can start using the Keplr wallet with your ledger now, the remaining steps are the same and you can start from step 3. 🙂
This tutorial is now finished, hope this was helpful, we hope to see you very soon among our delegators.
0 clients stake with Imperator.co
0 clients stake with Imperator.co
Start staking with Imperator and maximize your rewards.


Discover all our Staking Opportunities
Acces over 50+ protocols to maximize your staking returns
$0 assets under managment
$0 assets under managment
Join investors who trust Imperator to maximize their returns. Take the first step today.


